> Portal Navigation:
>
> - Append `.md` to any URL under `https://dev.wix.com/docs/` to get its markdown version.
> - Pages are either content pages (article or reference text) or menu pages (a list of links to child pages).
> - To get a menu page, truncate any URL to a parent path and append `.md` (e.g. `https://dev.wix.com/docs/sdk.md`, `https://dev.wix.com/docs/sdk/core-modules.md`).
> - Top-level index of all portals: https://dev.wix.com/docs/llms.txt
> - Full concatenated docs: https://dev.wix.com/docs/llms-full.txt
## Resource: Create List and Detail Dashboard Pages
## Article: Create List and Detail Dashboard Pages
## Article Link: https://dev.wix.com/docs/build-apps/develop-your-app/frameworks/wix-blocks/dashboard-pages/create-list-and-detail-dashboard-pages.md
## Article Content:
# Create List and Detail Dashboard Pages
**Editor compatibility**
Wix Blocks apps aren't supported in the Wix Harmony editor. Existing Blocks apps remain available for purchase on the Wix App Market for Wix Editor and Wix Studio sites. To learn more, see [About Wix Harmony and Blocks](https://dev.wix.com/docs/build-apps/develop-your-app/frameworks/wix-blocks/about-wix-harmony-and-blocks.md).
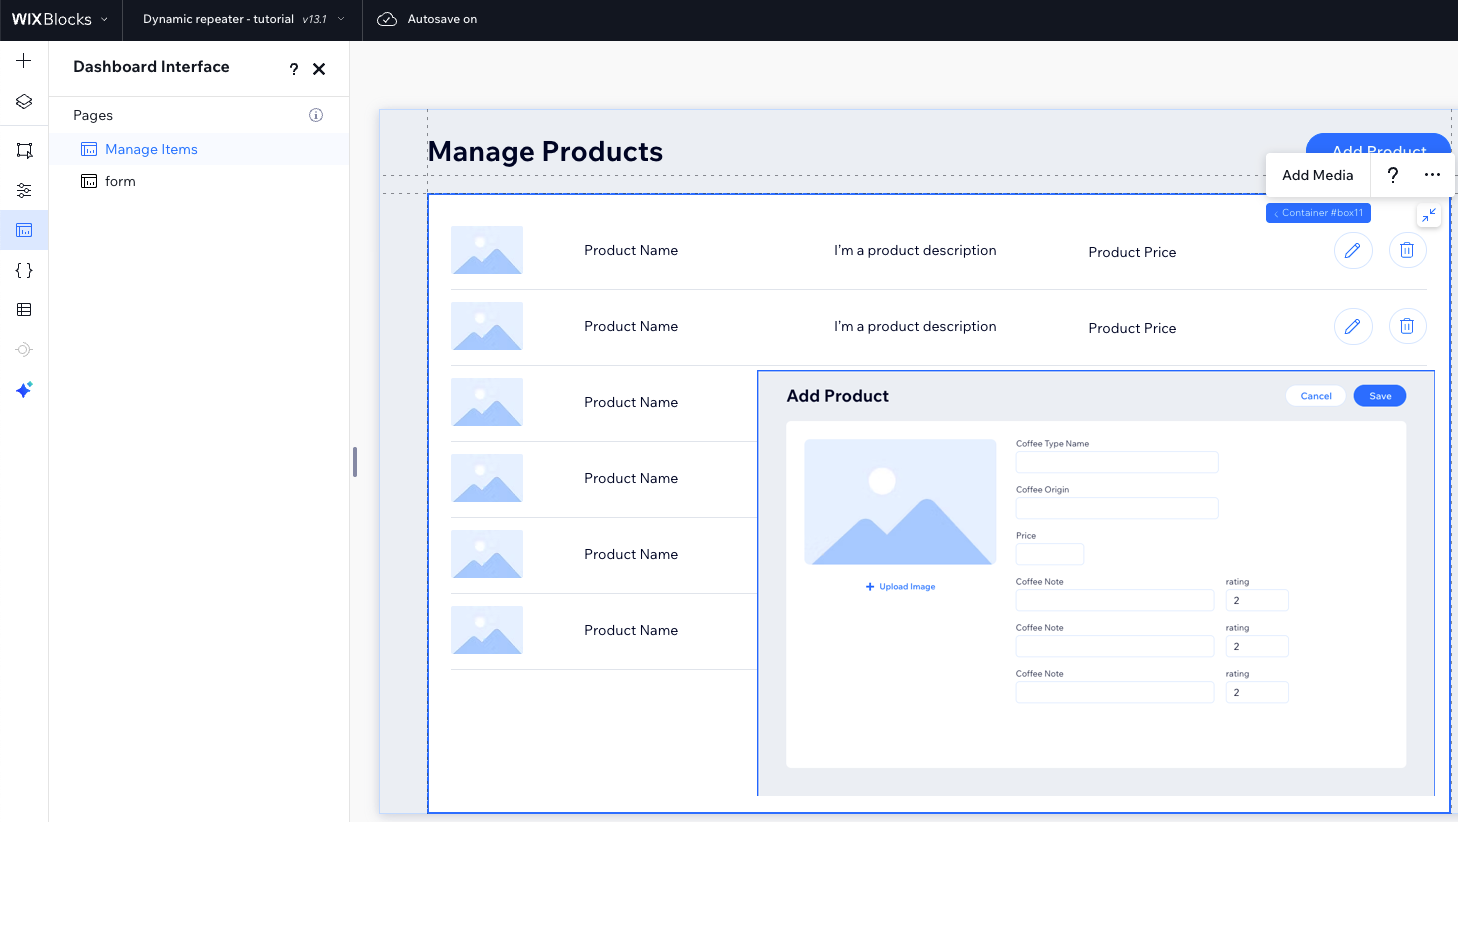
The master-detail pattern is one of the most useful dashboard designs for managing data in your Blocks app. This pattern involves creating 2 connected dashboard pages: a master page that displays a list of items (such as products, orders, customers, or blog posts) and a detail page that shows comprehensive information about a selected item. When users click on an item in the list, they navigate to the detail page with the specific item's data automatically loaded.
This guide shows you how to implement this pattern using the [dashboard SDK's](https://dev.wix.com/docs/sdk/host-modules/dashboard/introduction.md) `navigate()` method to pass data between pages and the `observeState()` method to retrieve and use that data on the destination page.
### Step 1 | Copy the dashboard page ID
Copy the single item dahsboard page ID from its **Page Settings**:
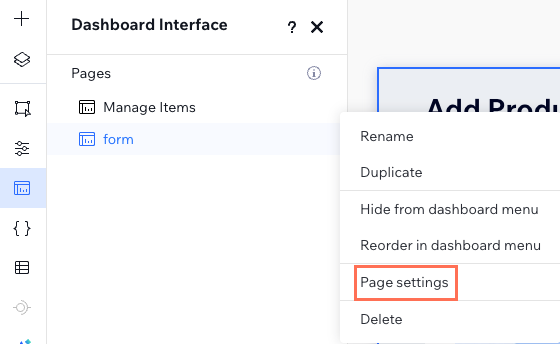
The ID should look something like this: `1600e523-f812-497d-9323-46e82ab78bd6`.
### Step 2 | Use `navigate()` to pass data
This step is done in the **list** dashboard page.
To send specific data to the destination dashboard page, use the `relativeUrl` parameter in the `navigate()` method. For example, pass a specific item ID to create a dynamic experience on the destination page.
The code assumes a repeater with items. When an item is clicked, the single item should open.
```ts
import { dashboard } from "@wix/dashboard"
$w("#").onItemReady(($item, data) => {
$item('#').onClick(() => dashboard.navigate({ pageId: "", relativeUrl: data._id }));
});
```
See deprecated wix-dashboard example
```ts
import wixDashboard from 'wix-dashboard';
$w("#").onItemReady(($item, data) => {
$item('#').onClick(() => wixDashboard.navigate({ pageId: "", relativeUrl: data._id }));
});
```
### Step 3 | Use `observeState()` to retrieve data
This step is done in the **detail** dashboard page.
Use the data passed to the `observeState()` callback method to dynamically update the page's content. The callback is triggered both when the dashboard page is initialized and whenever it's updated.
```ts
dashboard.observeState((_, env) => {
const itemId = env.pageLocation.pathname.replace('/', '');
// Add logic to handle the current item ID, for example console.log(itemId)
});
```
See deprecated wix-dashboard example
```ts
import wixDashboard from 'wix-dashboard';
wixDashboard.observeState((_, env) => {
const itemId = env.pageLocation.pathname.replace('/', '');
// Add logic to handle the current item ID, for example console.log(itemId)
});
```