## Default state properties Certain boolean properties for your selected element appear under the Default Values section of the panel. They allow you to set an element's state when the page loads. This limits the need to set an element's initial state with code, keeping your code cleaner and more concise. Set the element's initial state by selecting or clearing the checkbox to the left of the property. The available default state properties are: - **Hidden:** Hides the element from your site visitors when your page loads. You can use code to unhide the element upon an action or after a set amount of time. Hidden elements take up space on your page and appear faded in the editor until they're selected. An element's hidden state can also depend on whether its parent element is hidden or collapsed. - **Collapsed:** Collapses the element and hides it from your site visitors when your page loads. You can use code to expand the element upon an action or after a set amount of time. Collapsed elements don't take up space on your page and appear with diagonal hatching lines in the editor until they're selected. Collapsing and expanding can cause other elements to shift on your page. An element's collapse state can also depend on whether its parent element is hidden or collapsed. - **Enabled:** Enables interactive elements such as [buttons](https://dev.wix.com/docs/velo/velo-only-apis/$w/button/introduction.md) and [text inputs](https://dev.wix.com/docs/velo/velo-only-apis/$w/text-input/introduction.md). Elements with this property are initially in an enabled state. Clear the checkbox to disable the element when the page loads. You can use code to later enable the element when you want visitors to interact with it. Disabled elements appear faded in the editor. >**Notes:** > - The properties displayed in the panel change depending on the selected element. > - To get or set properties with code, see the [Velo API reference](https://dev.wix.com/docs/velo/velo-only-apis/$w/introduction.md) for a full list of an element's properties. ## Event handlers Event handlers appear under the **Event Handlers** section of the Properties & Events panel. Event handlers allow you to add code that defines what happens when site visitors interact with this element. Clicking on an event handler in the panel adds the event handler's function declaration to your page code for you. ```js $w('#myButton').onClick((event) => { // Add code here }) ``` Like properties, event handlers are specific to the element. Common event handlers that appear in the panel for many elements include: - `onBlur()` - `onClick()` - `onDblClick()` - `onFocus()` - `onMouseIn()` - `onMouseOut()` - `onViewportEnter()` - `onViewportLeave()` Other event handlers can appear in the panel depending on the element that's selected. For example, when a [Gallery element](https://dev.wix.com/docs/velo/velo-only-apis/$w/gallery/introduction.md) is selected, the panel includes additional event handlers to some of the ones listed above, such as: - `onCurrentItemChanged()` - `onItemClicked()` - `onPlay()` - `onPause()` See the [Velo API reference](https://dev.wix.com/docs/velo/velo-only-apis/$w/introduction.md) for descriptions of all the event handlers for each element. ## Events AI assistant in Wix Studio The Properties & Events panel in Wix Studio also comes with an AI Assistant button. 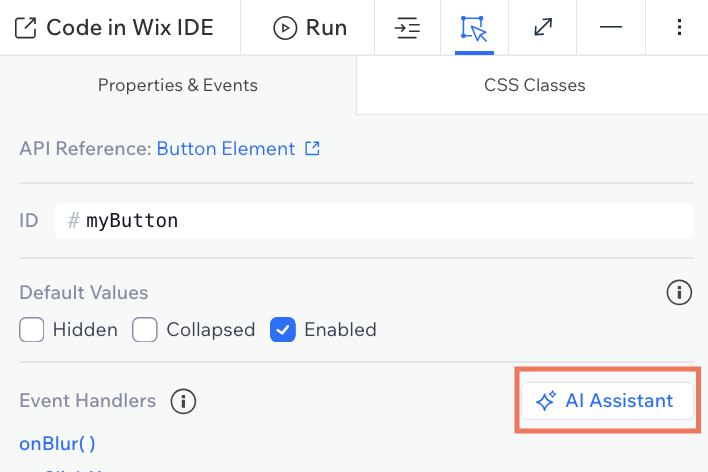 Use the AI assistant to help create interactive code for your event handlers. The AI assistant allows you to select an event handler and then describe what the code should do. It generates a code example that you can add to your page code. 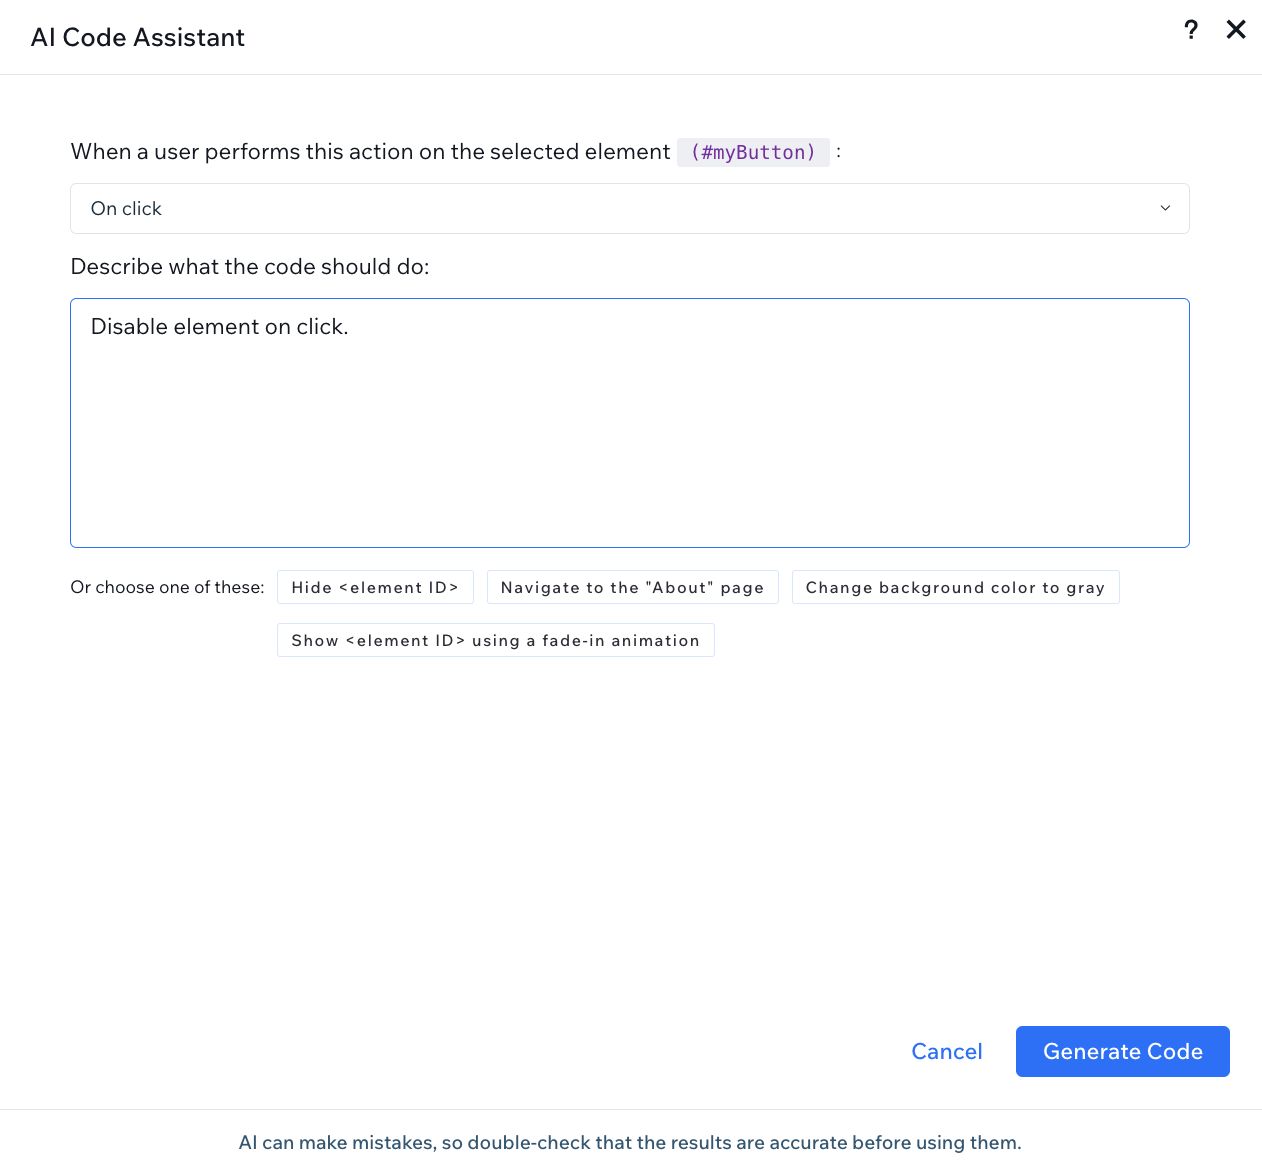 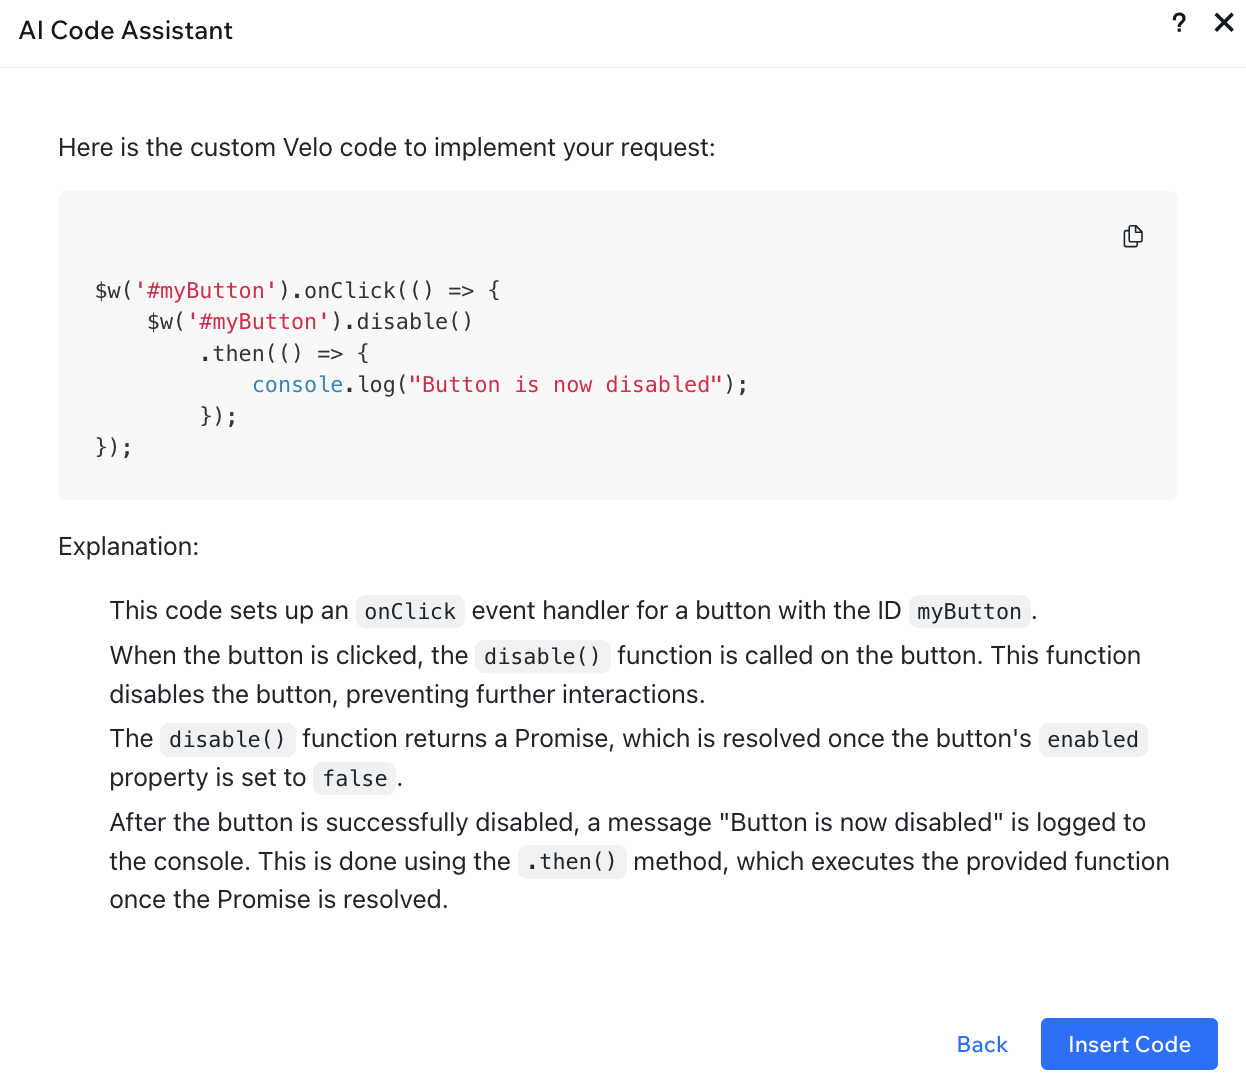 It's important to note that AI can make mistakes and that you should double check that any AI generated code is accurate before using it. >**Note:** > The AI Assistant button is only supported in Wix Studio. ## Using the JavaScript SDK with event handlers Although event handlers are created using Velo APIs, you can use the JavaScript SDK in the body of a event handler. For example, you can connect a button click to a data query from a collection: ```js import {items} from "@wix/data"; $w.onReady(function () { $w('#myButton').onClick(async (event) => { // Use SDK code inside the Velo event handler const results = await items.query("MyCollection").find(); console.log('Found items:', results.items); }); }); ``` See [Develop Websites with the SDK](https://dev.wix.com/docs/develop-websites/articles/coding-with-velo/develop-with-the-sdk/develop-websites-with-the-sdk.md) for guidance on how to use the JavaScript SDK alongside Velo in your Wix projects. ## See also - [About Event Handlers in Wix](https://dev.wix.com/docs/develop-websites-sdk/code-your-site/build-a-custom-frontend/event-handlers/about-event-handlers.md) - [Add an Event Handler](https://dev.wix.com/docs/develop-websites-sdk/code-your-site/build-a-custom-frontend/event-handlers/add-an-event-handler.md) - [Velo API reference](https://dev.wix.com/docs/velo.md)Important:
If you change the ID of an element, make sure to update any existing code that uses the ID of that element.