Allow Redirect URIs and Domains
After login, or after a Wix-hosted process such as checkout, Wix redirects a visitor or member back to a site or app. It only redirects to addresses you approve in advance. You configure allowed redirects in your Headless Settings:
- Authorization redirect URIs: For login callbacks. These require an exact matching URI.
- Redirect domains: For non-authorization redirects, such as returning from a Wix-hosted checkout. These apply at the domain level, allowing all URLs under that domain.
Note: Wix-managed Headless adds the relevant redirect URIs automatically during setup. You can add more as needed using the steps below.
Allowed authorization redirect URIs
Use an authorization redirect URI to allow a login callback. You must provide an exact matching URI.
-
In your project dashboard, go to Settings > Development & integrations > Headless Settings.
-
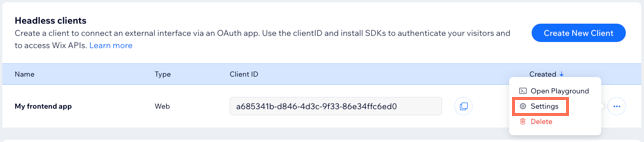
From Headless clients, click the More Actions icon to the right of the client you want to edit. Choose Settings to open its settings page:
-
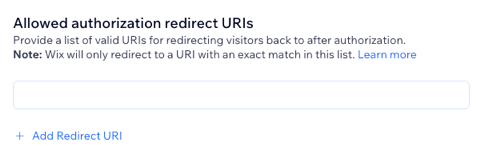
Under URLs, go to the Allowed authorization redirect URIs section.
-
Click Add Redirect URI and enter a precise URI you authorize Wix to redirect back to from Wix-hosted authentication pages. For example,
https://www.my-site.com/login-callbackauthorizes only this path, not other URIs under the same domain. To authorize multiple URIs, click Add Redirect URI again as many times as you need. -
Click Save to save your changes and return to Headless Settings.
Allowed redirect domains
Use an allowed redirect domain for non-authorization redirects, such as returning a visitor to a site after a Wix-hosted checkout. A domain authorizes all URLs under it.
Already set a frontend link? When you connect your frontend from the setup page, Wix adds it to your allowed redirect domains automatically, so most projects don't need to set anything here. Add a domain manually when you want visitors to return to a location that differs from your frontend link. For more information, see Add a Frontend Link.
From the dashboard
-
In your project dashboard, go to Settings > Development & integrations > Headless Settings.
-
From Headless clients, click the More Actions icon to the right of the client you want to edit. Choose Settings to open its settings page:
-
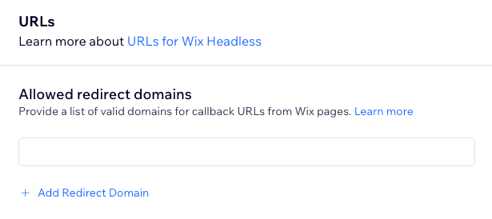
Under URLs, go to the Allowed redirect domains section.
-
Click Add Redirect Domain and enter a domain you authorize Wix to redirect back to from Wix-hosted pages. For example,
www.my-site.comauthorizes all URLs under this domain. To authorize multiple domains, click Add Redirect Domain again as many times as you need. -
Click Save to save your changes and return to Headless Settings.
With the API
You can also manage allowed redirect domains programmatically with the Update OAuth App method. This is useful in automated or LLM-driven setup flows where the deployment domain isn't known at the time the client is first created.
Note: The mask.paths field is required and specifies which fields to update. Fields not included in the mask are left unchanged. To add domains without overwriting existing ones, first retrieve the current list with Get OAuth App, merge your new domains into the existing list, and then send the full merged list in your update request.
Last updated: 30 July 2026