Add Dashboard Plugin Extensions with the Wix CLI
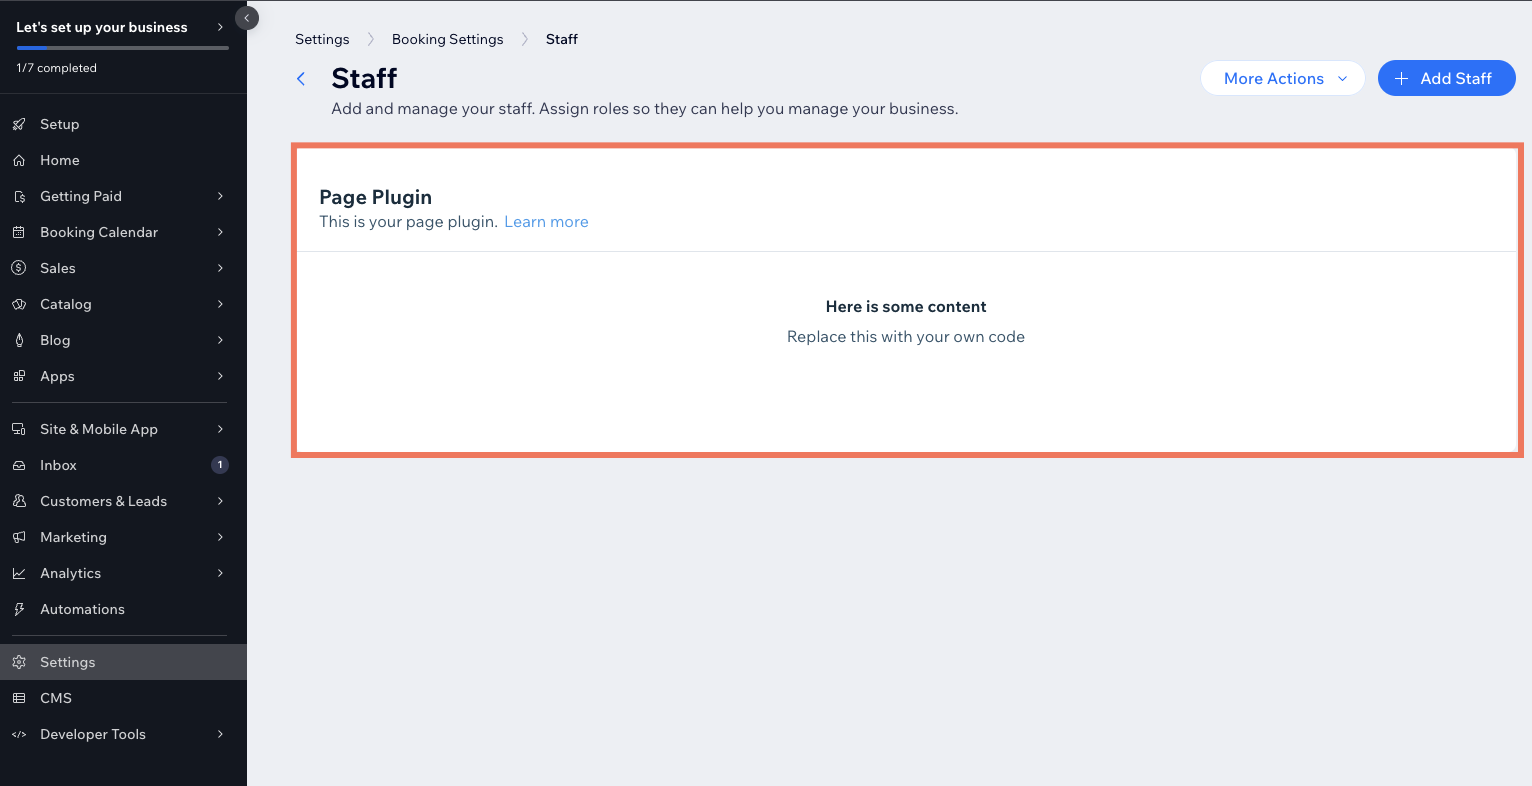
Dashboard plugins allow you to extend and enhance the functionality of dashboard pages provided by Wix business solutions on your headless project's site, like Wix Stores or Wix Bookings. Use them when you want to add custom UI or logic into the dashboard pages your team already uses to run the site.
Under the hood, the CLI registers the plugin on your headless project's private app, which is the mechanism Wix uses to install extensions on your site. See Exposing apps publicly and privately for context on private apps.
The Wix CLI makes it easy to create and develop dashboard plugins. You build your plugin using Wix's React/Node.js stack, and the plugin is deployed and hosted on the Wix cloud.
For more information on dashboard plugin extensions, read About Dashboard Plugins.
Follow the instructions below to:
- Create a dashboard plugin extension for your project.
- Customize your dashboard plugin.
Once this task is complete, your headless project will have a dashboard plugin that adds custom functionality to a Wix business solution's dashboard page.
Tip: Learn how to interact with the Wix dashboard using the Wix Dashboard SDK.
Step 1 | Create the plugin extension
In the terminal:
-
Navigate to your project repo.
-
Run the generate command.
-
Follow the prompts for creating a dashboard plugin.
Upon completion, the extension files will be created in your project directory with the following structure:
Note: This is the default folder structure created by the CLI. You can move these files to any location within the src/ folder and update the references in your extension.ts file. Learn more about the flexible file system.
For more information about these files, see Dashboard Plugin Extension Files and Code.
Step 2 | Customize your dashboard plugin
Once you finish generating your dashboard plugin, you can find your plugin's auto-generated React component in your .tsx file.
-
Run the dev command to open the dev menu.
-
Follow the prompts, then click the link to open a preview of the dashboard in your browser, then navigate to the dashboard page hosting your plugin.
 Leave this window open.
 -
Go to your
.tsxfile and edit the text inside the<Text>component to "Hello world!".CopyNote: When it comes to designing the UI for your plugin, consider using the Wix Design System, a collection of reusable React components that you can use to make your project appear and feel like a native Wix experience.
-
Customize your plugin to interact with the dashboard page data passed to the plugin's slot using the
observeState()method from the Dashboard SDK:- Make sure the
@wix/dashboardpackage is installed in your project. - Add the following import statement to your code:
Copy
- To retrieve the data from the dashboard page, call the
observeState()method.Copy - Use React to add code and logic to your plugin.
- Make sure the
-
Save your file.
-
Navigate back to the dashboard page in your browser and see your changes.
Build and deploy your project
Once your project is ready for production, you can build and deploy it.
Delete a dashboard plugin
To delete an existing dashboard plugin from your project:
- Delete the folder that contains your dashboard plugin extension's files.
- Remove the import and
.use()statements for the extension from theextensions.tsfile.
Important:
If you've already released a version of your project, you must build and deploy the project again after removing the dashboard plugin files.