Set Your Custom Login Page URL
When you create a custom login page, you need to define a login URL that points to your custom login page. This tells Wix where to redirect users when they encounter Wix-hosted pages that require login, for example a checkout page. If you use a Wix login page instead, this setup isn't required since Wix handles the login process automatically.
Learn more about login options for Headless sites.
Set the login URL
To set a login URL:
-
In your project dashboard, go to Settings > Development & integrations > Headless Settings.
-
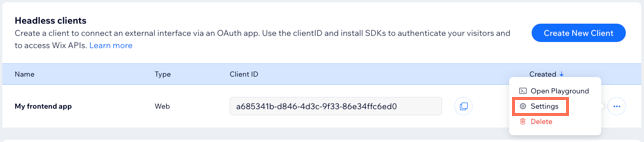
From Headless clients, click the 3 dots to the right of the OAuth app you want to edit. Choose Settings to open the app's settings page:
-
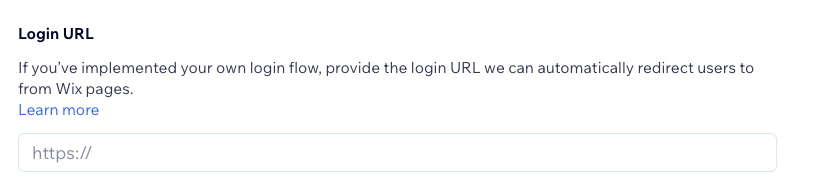
Scroll down to the URLs section and go to the Login URL section.
-
Enter the URL to your custom login interface. When Wix needs to log in a member, the member will be redirected to the URL you entered.
-
Click Save to save your changes and return to Headless Settings.
See also
Last updated: 22 July 2026