Set Up a Headless Client
To call Wix APIs from your own site or app, register it with your Wix project as a headless client. Registering creates an OAuth app, which the client authenticates through: it identifies where API calls come from and lets Wix issue visitor and member tokens through OAuth 2.0, without anyone sharing their Wix login credentials with your code.
Create a headless client for each external client that interacts with your project. For example, if you're creating a site and a mobile app, create 2 headless clients, one for the site and the other for the mobile app. You can create a client manually in the dashboard, as described below, or programmatically by calling Create OAuth App.
Note: A Wix-managed headless project already has a client. The appId value in your project's wix.config.json file is its client ID. Create an additional client only if you need a separate one, for example for a mobile app alongside your site.
Create a headless client
To create a headless client in the dashboard:
-
In your project dashboard, go to Settings > Development & integrations > Headless Settings.
-
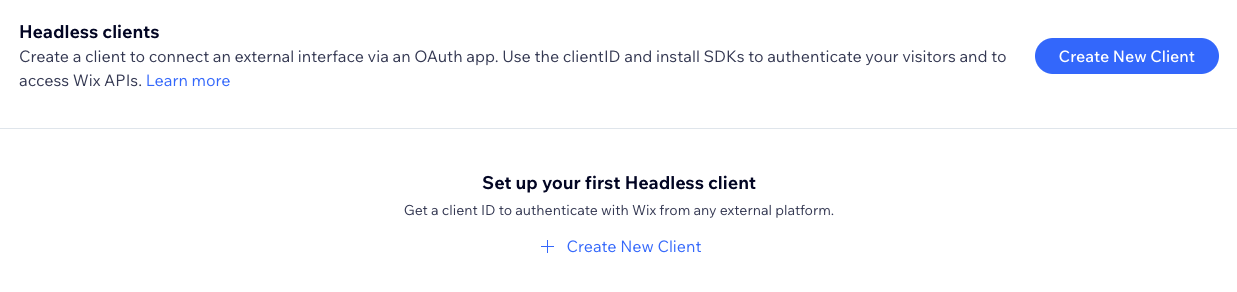
In the Headless clients section, click Create New Client.
-
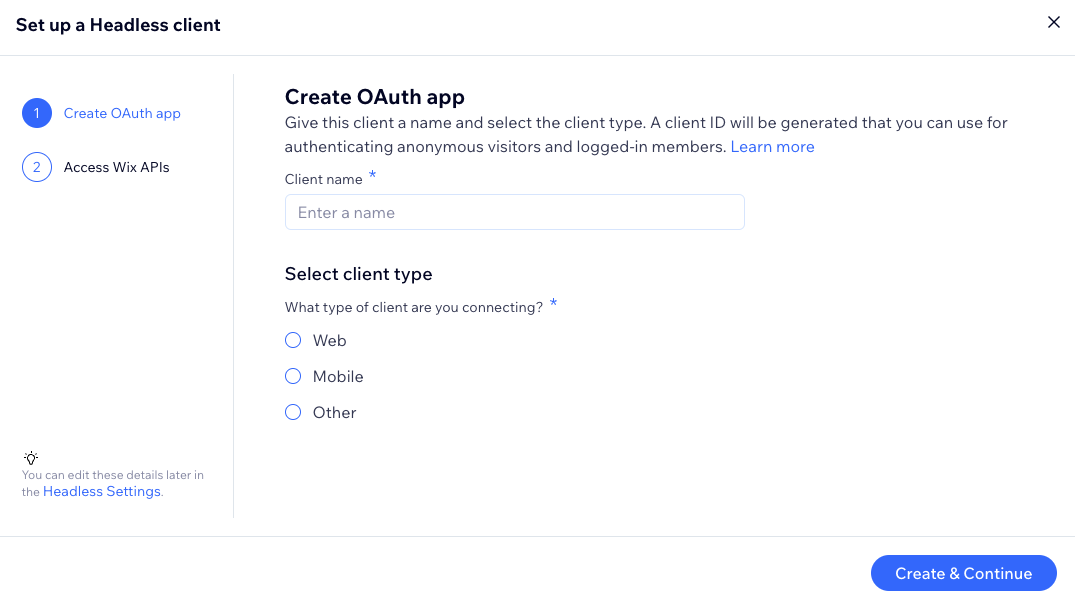
Enter a name in the Client name field. Choose a name that identifies the client clearly. For example, if the client is a fitness-related smartwatch app, you can name it "Smartwatch Gym Client App".
Once you enter a name, select the client type and click Create & Continue.
-
Select the stack you're using to call Wix APIs.
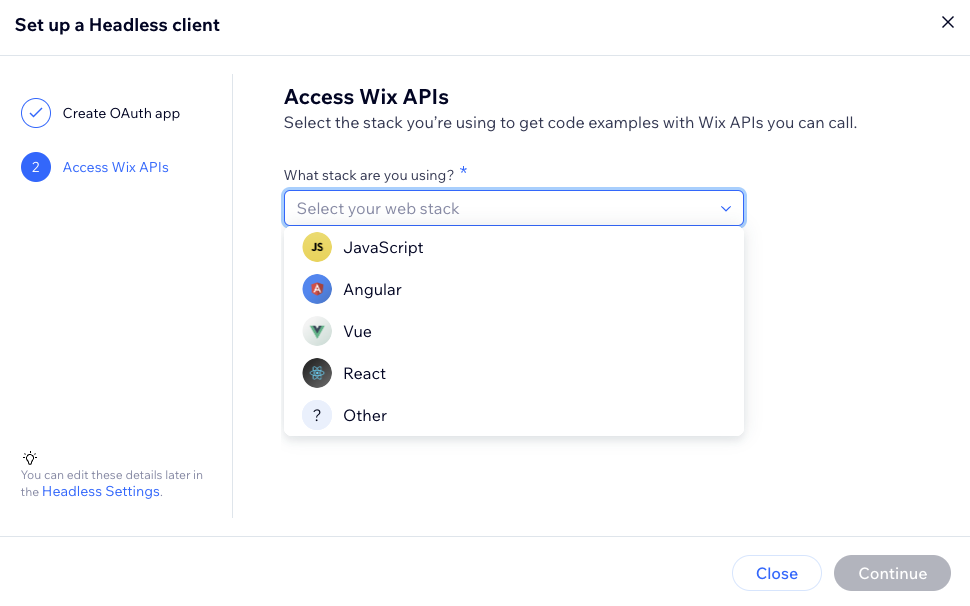
Once you select the stack, the modal expands to display code snippets for 5 apps built by Wix. Each code snippet is customized for the stack that you choose. You can copy these snippets to help you get started working with Wix APIs.
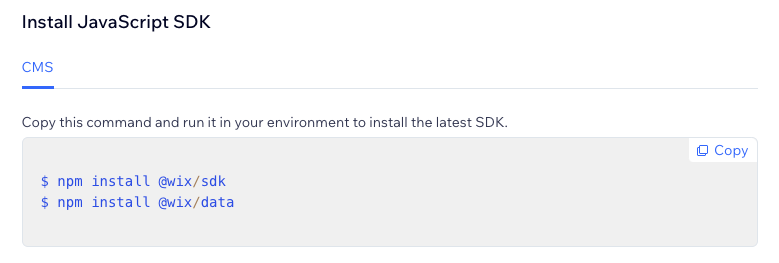
Once you choose your stack and copy any snippets you need, click Continue.
-
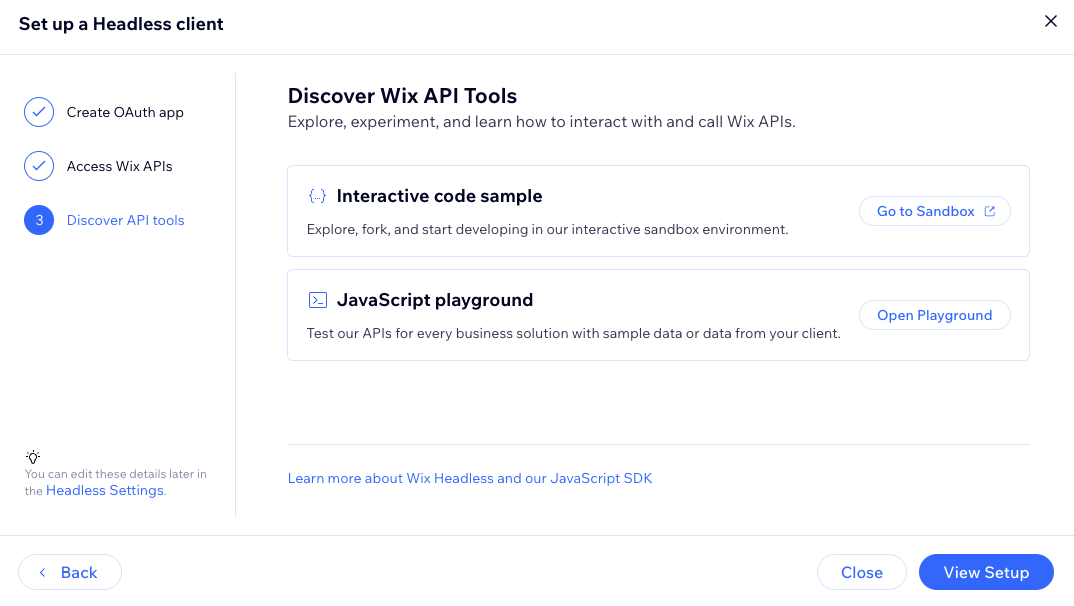
Click View Your Setup to close the modal and view your project's Headless Settings. Optionally, you can test out API calls using one of the 2 options displayed:
- Test API calls in the JavaScript playground: Clicking Open Playground opens a new modal that lets you select different APIs and methods, and test out calls to them using the client ID you just created.
- See an example site in CodeSandbox: Clicking Go to Sandbox opens a new tab with a CodeSandbox project. The project contains complete code that makes calls to various APIs like eCommerce and Bookings. You can copy code straight from the example, or fork the project to start editing and testing your own code.
-
In the Headless clients section, your new client now appears with its client ID.
Copy the Client ID and use it to connect and authenticate with your Wix project. You can also retrieve the client ID later by returning to the Headless Settings page.
Approve redirect URLs
Many external sites redirect visitors to Wix-hosted pages for processes such as authentication and checkout. Wix then returns the visitor to the external site. To protect data security, Wix only ever redirects visitors to site addresses you approve in the URLs section of your client's settings. If your external site redirects to Wix-hosted pages, provide approval for the following URLs:
- Allow Redirect Domains: Domains that Wix can redirect visitors to from Wix-hosted pages.
- Login URL: URL of your custom login interface, if you'll develop one.
- Allow Authorization Redirect URIs: URIs that Wix can redirect members back to after they complete the authorization process.
See also
Last updated: 30 July 2026