Quick Start a Self-Managed Headless Project
Self-managed headless lets you build a frontend with any framework and connect it to Wix's backend, while you handle hosting and authentication yourself. This article takes you through creating a headless project, connecting your frontend, and calling a Wix API.
Note: For a simplified setup where Wix handles hosting and authentication for you, start with Wix-managed headless.
Step 1 | Create a headless project
A headless project is a Wix site that uses Wix's business management platform without a Wix editor. It appears in your Wix account alongside your sites.
Already have a Wix site? You don't need to create a new project. See Start from an Existing Wix Site to turn your existing site into the backend for a new frontend.
To create a headless project:
-
Create a new headless project.
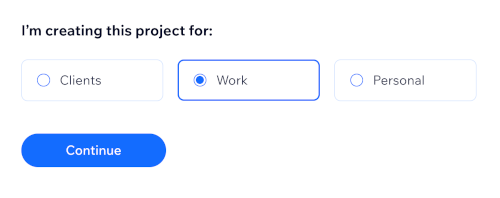
-
Choose your project's purpose.
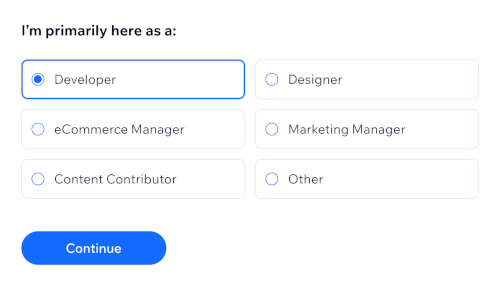
-
Choose your role.
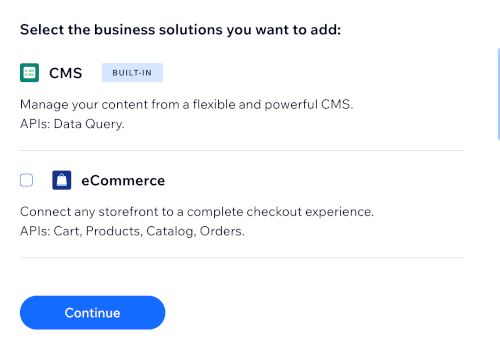
-
Choose the business features you want to add, such as eCommerce, Bookings, Pricing Plans, or Events. You can always add more later.
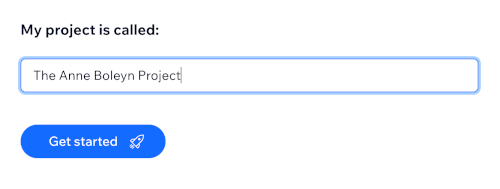
-
Enter a name for your project. You can always change it later in the project dashboard.
Note: You need to upgrade to a premium plan to receive payments, view detailed analytics, connect a custom domain, and access other advanced functionality.
Step 2 | Connect your frontend
To call Wix APIs, your frontend needs to be authorized. Set up a headless client for your project. This works the same whether you're connecting to a new project or an existing site. Choose an authorization strategy based on what you're building:
- Visitors and Members (OAuth): For a site or app used by customers, such as anonymous visitors and logged-in members.
- Admin (API Key): For a project with customized administrative access to your Wix account's sites and projects.
For the full setup steps, see Set Up a Headless Client. You can use more than one strategy in the same project.
Step 3 | Call a Wix API
With a client connected, choose how you'll call Wix APIs:
- JavaScript SDK: If you're coding in JavaScript.
- REST API: If you're not coding in JavaScript.
You can use both the SDK and the REST API in the same project.
Next steps
- Set Up a Headless Client: Connect additional frontends, or an existing Wix site.
- Authorization Strategies: Understand OAuth and API key authentication in depth.
- Invite collaborators to help manage your project.
Last updated: 15 July 2026