Tutorial: Create Dynamic Pages with a Custom Router
When you set up dynamic pages on your site, Wix creates a router in the background to manage the pages. However, you can also choose to set up your own router to manage your dynamic pages. This gives you more control over how incoming requests to your site are handled.
The Create a Router article walks you through the default code that appears when you first add a router to your site. In this tutorial, we'll show you how to alter the router code to create and manage dynamic pages yourself.
We'll create a very basic site for listing real estate properties. We'll then add a router and walk you through the necessary code to create an index page of listings, and a dynamic item page.
In this tutorial we work directly in the editor. However, all of the code and basic website design is relevant if you're working in the Wix IDE or your local IDE. The only differences might be the names and locations of some of the files. If you're having trouble locating some of these files, see our article on creating a router.
Before you get started, make sure you're familiar with the concepts of routers and dynamic pages.
Step 1 | Create a new site with a collection and router
In this step, we'll create a new site and add the features we need to build dynamic pages. This includes the following:
- The collection, which we'll fill with data that will be used to populate the dynamic index and item pages.
- The router, which controls the dynamic page that visitors are sent to when they request to see listings on your site.
To start the setup:
-
Create a new blank site.
-
On the homepage, add the following 2 elements:
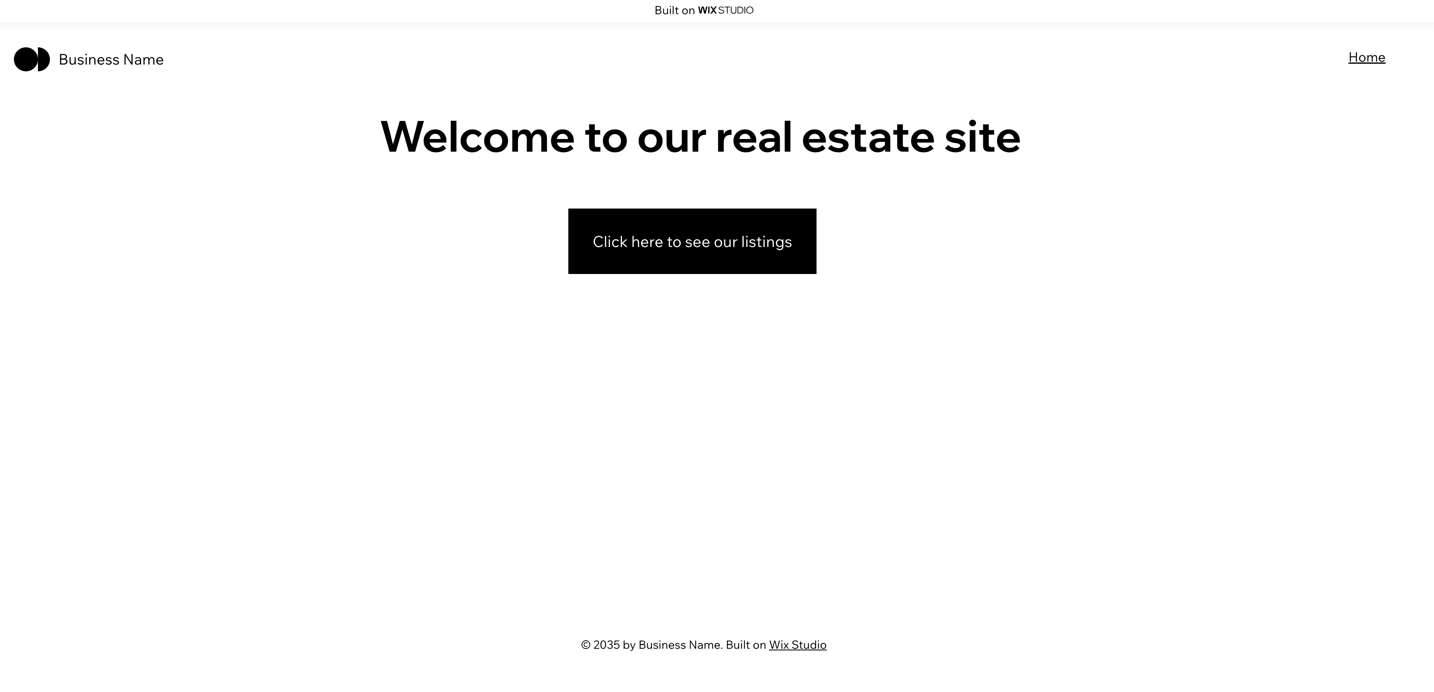
- Text element: Edit the text element so its text reads "Welcome to our real estate site".
- Button: Click on the button and select Change Text. Edit the text to say "Click here to see our listings".
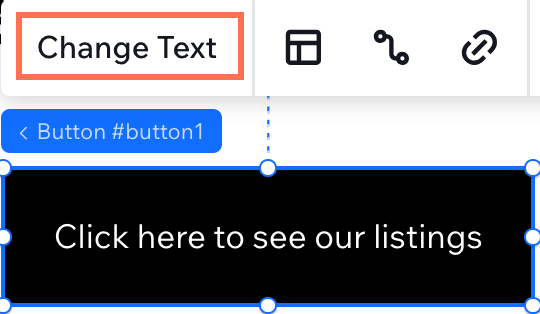
You can leave the page code empty for now; we'll add code for the homepage later.
-
Now we need to add a collection to contain the listings we want to display. We'll query the items in this collection to create our dynamic pages.
Name your collection
Real Estate Listingsand make sure it has a matching collection IDRealEstateListings. We'll need this ID later to query the collection.Add the following four fields to the collection:
- Title: Text field that contains the name of the listing.
- Description: Text field that contains a brief description of the listing.
- Image: Image field that contains an image of the property in the listing.
- Slug: Text field that contains the slugified name of the listing.
Once you set up your fields, add the following items to the collection exactly as shown in the table:
Title Description Image Slug Modern urban apartment This newly built apartment has all the trimmings and appliances you need in the modern-day city. wix:image://v1/11062b_1c8c953e6532482b974d6b30961091e2~mv2.jpg/Loft%20Style%20Apartment.jpg#originWidth=4000&originHeight=2667 modern-urban-apartment Beach house Imagine stepping outside your house and you're right on the beach. You can now achieve that dream with this piece of property. wix:image://v1/d4dde1_954ed2d26fb14166ad634c0299d0ed2c~mv2.jpg/Large%20house%20right%20next%20to%20the%20sea.%20It%20is%20light%20blue%20with%20white%20trim%20and%20doors.%20It%20has%20a%20po#originWidth=500&originHeight=500 beach-house Cute Cottage This adorable cottage in the suburbs reminds you of old times outside while keeping a modern feel inside. wix:image://v1/d4dde1_1f312bbf4d8743a695305a3894ac89fb~mv2.jpg/Cottage%20made%20of%20white%20stone%20with%20a%20small%20green%20lawn%20and%20a%20white%20picket%20fence%20with%20a%20gate.%20#originWidth=500&originHeight=500 cute-cottage Cozy Cabin Nestled deep in the woods, this cabin offers the peace and quiet of the wilderness away from the city. wix:image://v1/d4dde1_0fe31ec5d1bb4ed184ff61fd6b42ce20~mv2.jpg/A%20wooden%20cabin%20nestled%20in%20between%20trees..jpg#originWidth=500&originHeight=500 cozy-cabin -
Add a router to your site. Set the URL prefix to
listings. -
After you create the router, go to the Backend & Public section of the code panel and locate the
routers.jsfile. It should contain two functions,listings_Routerandlistings_SiteMap, with the sample code discussed in Create a Router. In addition, check that a router page calledlistings-pagenow appears in the code panel.
Now that you have created the router, we can start adding code.
Step 2 | Add dynamic page code
In this step, we'll add page code for the dynamic item and index pages to display our property listings.
In order to have both an index page and an item page, we need to add two router pages. We'll need to add code to both pages. Let's start by coding the index page, which will display all of the listings for visitor selection:
-
In the Page Code section of the code panel, under Router Pages, find the router page that was created when you first added the router. It should be called
listings_page. Click onlistings_pageto open it in the editor. -
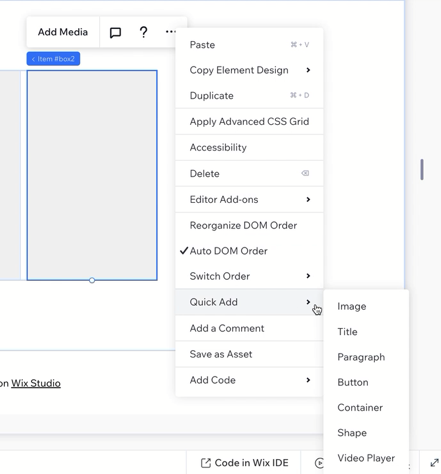
Add a repeater to the page. Select an item in the repeater and open the settings menu. Click Quick Add to add an image and a title to the repeater item.
-
Select the repeater so it's highlighted. In the Properties & Events Panel, change the ID of the repeater to
listings.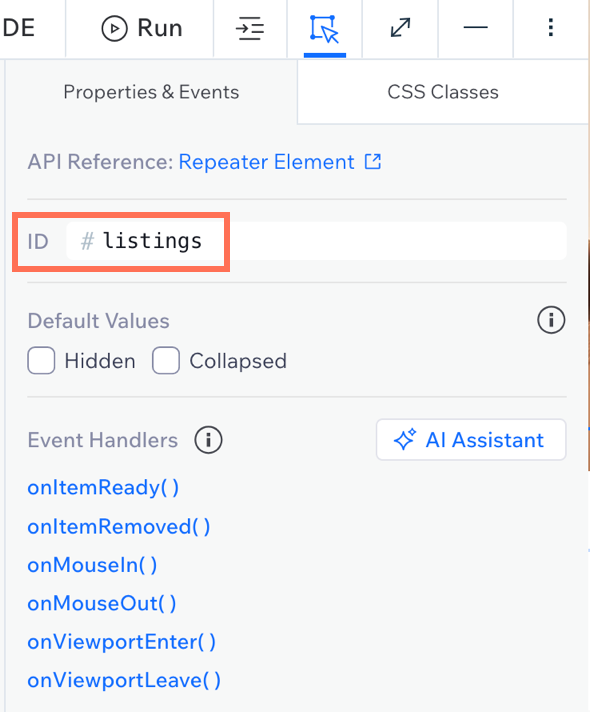
Repeat this with the IDs of the repeater item as well as the title and image that you added. Give the elements the following IDs:
- Repeater item:
listing - Title:
listingTitle - Image:
listingImage
Now we're ready to add some simple code for our dynamic index page.
- Repeater item:
-
In the code editor for
listings-page, add the following code:CopyLines 1-2: Import the
getRouterData()andto()functions.getRouterData()receives any data sent by the router so we can render it on the page.Line 5: Receive our router data and store it in the
listingsvariable for later use.Lines 7-16: Populate the repeater items with the router data. We create an
onClick()handler that sends users to the item page when clicked. Depending on the slug passed, the router controls which dynamic item page is rendered.We have now set up the dynamic index page so that it will display each of the items in the collection. Next, we need to add a second router page that will become our dynamic item page.
-
Under Router Pages, click the More Actions button next to Listings Pages (Router). Select Add page to router.
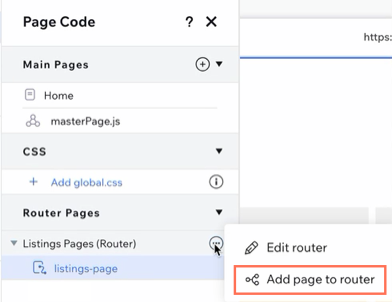
Label the new page
listingand click Add Page. This creates a second page under the Listings Pages (Router). -
Select the
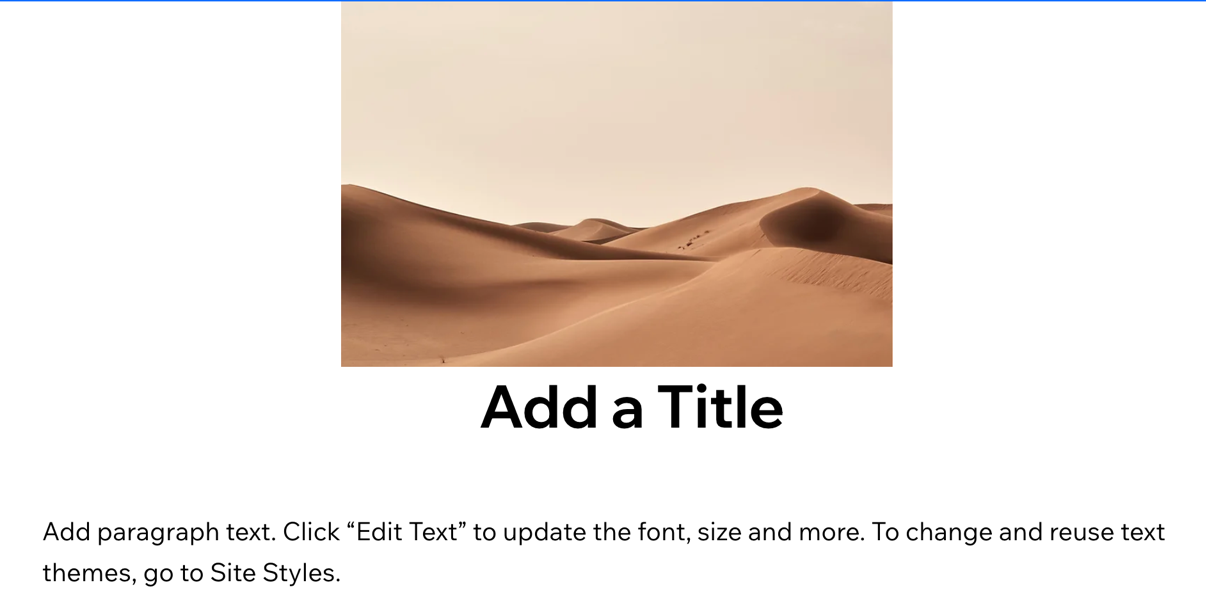
listingpage so it appears in the editor. On a real property listing you'll typically include much more detail, such as price and contact information. However, for this example, we'll keep the dynamic item page very simple and just add a single image, title, and description.Add an image and two text elements to the page, and arrange the elements so the page layout looks like this:
-
In the code editor, open the page code for
listing. We need to write some code that will accept data from the router and use it to render the correct information for the selected property. To do this we can write the following basic code:CopyLine 1: Again, we import
getRouterData()to enable our frontend page to receive data from the router.Line 4-8: Get the router data and populate our elements with it.
We now have a functioning dynamic index and item page that will render our collection data based on requests to the router. Our next step is to write the router code so that it handles visitor requests correctly.
Step 3 | Add the router code
All the logic for your router goes in the router function added to routers.js. In this example, we'll write all our code in the listings_Router() function. This is the code that actually handles visitor requests. In the case of dynamic pages, the router logic decides which site page is rendered for the visitor.
-
In the code panel, locate the
routers.jsfile in the Public & Backend section.The first thing we need to do is import the necessary functions. The sample code already imports several important objects for you from
wix-router. This includes theok()andnotFound()functions and theWixRouterSitemapEntryobject. We'll need to work with the Wix Data API to query items from our collection, so we add another line to the import statement:CopyThe sample code also includes an object with hard-coded data. You can delete this object as we won't use it in this tutorial.
-
In the
listings_Router()function, delete the sample code; we'll replace it with our own.Recall that we have two router pages, an index page and an item page. The router needs to know when to display one or the other. It can figure this out based on the path variable in the
WixRouterRequestobject that the router receives. The path indicates which item page in our router the visitor wants to view. If thepathvariable is empty, it means the visitor has not requested a specific page in the router, so we render the index page.Therefore we can start by writing an
ifstatement that checks the path:CopyLine 2: Check if
pathis empty.Lines 3-5: We query our data collection for all available listings, and store them in an array called
listings. We pass the ID of our collection,RealEstateListings, to the Wix Dataquery()function to retrieve the collection items.Lines 7-11: Create our SEO data so Google knows how to find and display our index page in its search.
Line 13: Call the
ok()function to go to the index page. We pass it thelistingsdata. Recall that we wrote frontend code that will pick up and display this data to the visitor.Tip: In case you don't know your collection ID, in the sidebar go to CMS > Your Collections. Open the menu for your collection and click Edit settings. The modal that pops up contains some information about your collection including its ID.
-
Now we need to handle the case where the
pathvariable is not empty. There are two cases here:- The visitor requests an existing path.
- The visitor requests a path that doesn't exist.
Let's start with the case where the requested path exists. Add the following
elsestatement to theifwe just wrote:CopyLines 2-4: We again query the collection, but this time we filter the data by searching for a slug that matches one in the collection.
Lines 6-8: If we get a result, we pull the item data out and place it in a variable
listing.Lines 10-24: We use the data from
listingto populate the SEO object.Line 26: We pass the listing and SEO data to the
ok()function to render the correct page to the visitor.To handle the case of a request for a non-existing path, we only need to make one simple addition:
CopyLine 28: Send the requester to an error page if we don't find the slug in our collection.
This completes the code for our router function. Our router now knows how to handle requests for the index page and the dynamic item pages.
Step 4 | Add the sitemap code
The sitemap is necessary for your site's SEO. When you use dynamic pages, Wix handles the SEO and site mapping for you. But when you manually create dynamic pages with your own router, you must build your own sitemap using the provided function.
The sitemap function also appears in routers.js, immediately below the related router function. In this tutorial, the sitemap function is called listings_SiteMap().
-
Delete the sample code in
listings_SiteMap()and add the following code:CopyLine 2: We query the collection to get the item data, and store the data for each item in an object
listings.Line 4-10: We create a new site map entry for each item in the collection and map it to a new array
siteMapEntries. We set the sitemap entry title from the title of the listing, and use the item's slug to create the entry's URL.Lines 12-17: We also need to add the index page to the site map, so we create a separate sitemap entry and push it to the
siteMapEntriesarray.Line 19: Return the sitemap.
We've created the sitemap, and now have a fully functional router that works with SEO. Here's the full code of router.js, including the router and sitemap functions:
Step 5 | Test dynamic pages
-
Publish your site by clicking Publish in the top right corner of the editor.
-
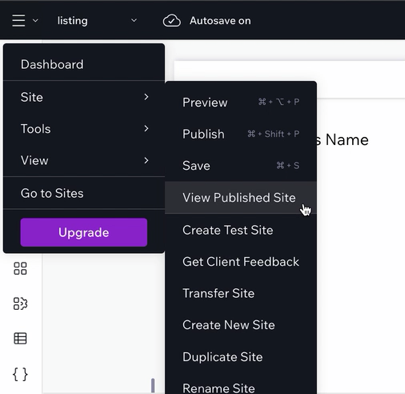
Open the menu in the top left corner and click Site > View Published Site.
The published site opens in a new tab. You should see the homepage first:
-
Click the button on the homepage to go to the listings index page. Because you're requesting to view a page with the
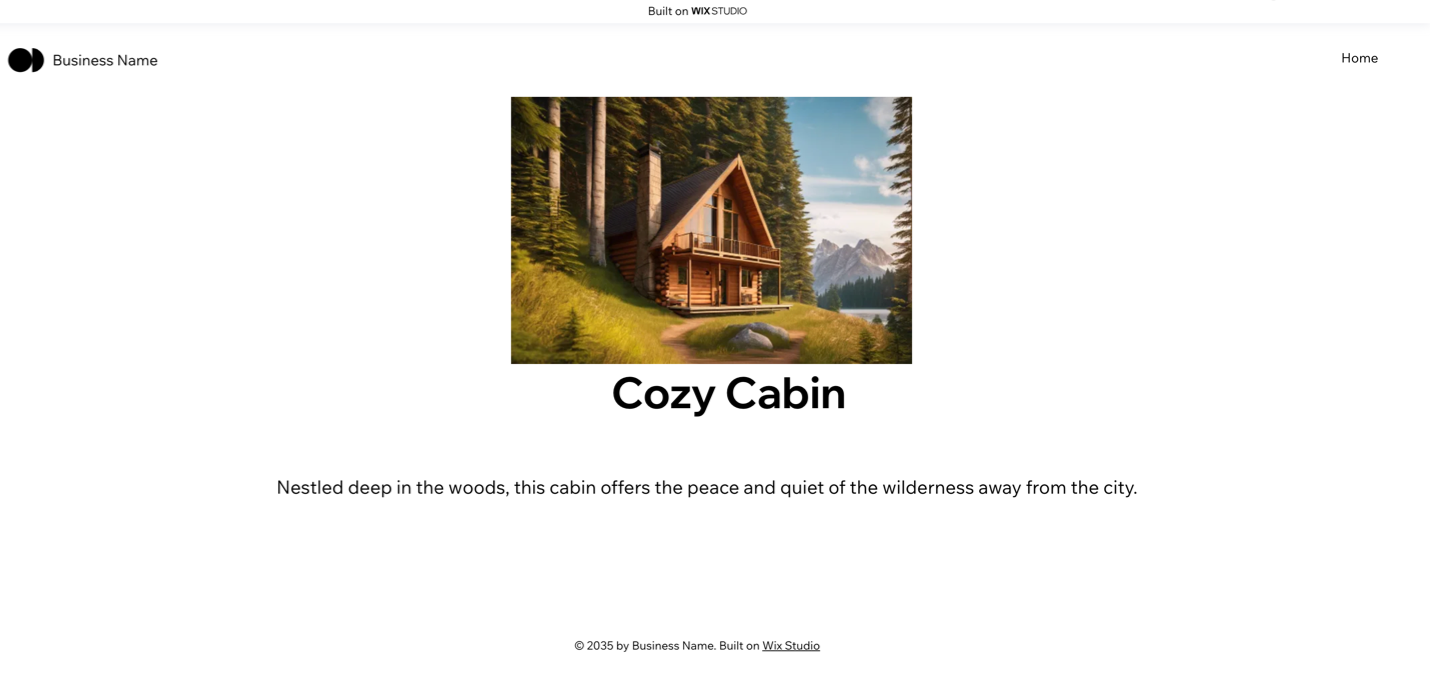
listingsURL prefix, Wix passes the request to your router to handle.The site should navigate to the dynamic index page you created. From there, click on any of the listings on the page. The site then navigates to the dynamic item page, correctly rendered for the item you selected. Again, this request is handled by the router.
-
You can return to the index page and test out the other listings if you wish. Each time you click on a listing, you make a request to the router and it fetches the item data from the
Real Estate Listingscollection, and renders it on the item page. This is the same thing Wix does when you add dynamic pages to your site! -
Now that you know your router is working, let's take a brief look at the sitemap. Return to your homepage and in the address bar, add
/sitemap.xmlto your site address. It looks something like this:Copy -
Navigate to the address and you'll see your site's sitemap displayed in XML. For example:
CopyOne of the links leads to your router pages. Copy the link and paste it back into the address bar. Navigate to the link to see the sitemap for your router:
CopyThis is the sitemap generated by your
listings_SiteMap()function.
In this tutorial, you've created your own router and used it to set up dynamic pages on your site manually. From here you can enhance the site design and adjust it to your needs, and continue building on the router so it can handle more complex tasks.