Tutorial | Create Dynamic Pages with a Custom Router
This tutorial demonstrates how to set up your own router to create and manage dynamic pages. You'll create a basic site for listing real estate properties, and then add a router and update the code to create an index page of listings and a dynamic item page. Creating a custom router gives you more control over how incoming requests to a site are handled.
This tutorial uses the following steps to set up a router to create dynamic pages:
- Create a new site with a collection and router
- Add dynamic page code
- Add the router code
- Add the sitemap code
- Test the dynamic pages
Notes:
-
Routers currently require Velo APIs and file naming conventions. While you can use the JavaScript SDK alongside Velo, router handlers must be defined using Velo syntax in the
routers.jsbackend file. -
The code in this article was written using the following JavaScript SDK module versions:
- @wix/site-window (v1.43.0)
- @wix/site-location (v1.27.0)
- @wix/data (1.0.283)
Learn how to install npm packages in the editor or using the CLI.
Before you begin
It's important to note the following points before doing this tutorial:
- You should be familiar with the concepts of routers and dynamic pages.
- This tutorial is done directly in the editor. However, all of the code and basic website design are relevant if you're working in the Wix IDE or your local IDE. The only differences might be the names and locations of some files. If you're having trouble locating some of these files, see the Create a Router article.
Step 1 | Create a new site with a collection and router
In this step, you'll create a new site and add the features needed to build dynamic pages, including:
- The collection, which you'll fill with data to populate the dynamic index and item pages.
- The router, which controls the dynamic page that visitors are sent to when they request to see listings on your site.
-
Create a new blank site.
-
On the homepage, add the following 2 elements:
- Text element: Edit the text element so its text reads "Welcome to our real estate site".
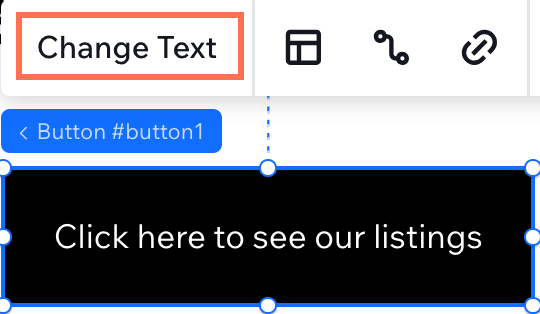
- Button: Click on the button and select Change Text. Edit the text to say "Click here to see our listings".
-
Add a collection to a site and name it
Real Estate Listings. Copy the collection ID for later. -
Add the following 4 fields to the collection:
- Title: Text field that contains the name of the listing.
- Description: Text field that contains a brief description of the listing.
- Image: Image field that contains an image of the property in the listing.
- Slug: Text field that contains the slugified name of the listing.
Once you set up your fields, add the following items to the collection exactly as shown in the table:
Title Description Image Slug Modern urban apartment This newly built apartment has all the trimmings and appliances you need in the modern-day city. wix:image://v1/11062b_1c8c953e6532482b974d6b30961091e2~mv2.jpg/Loft%20Style%20Apartment.jpg#originWidth=4000&originHeight=2667 modern-urban-apartment Beach house Imagine stepping outside your house and you're right on the beach. You can now achieve that dream with this piece of property. wix:image://v1/d4dde1_954ed2d26fb14166ad634c0299d0ed2c~mv2.jpg/Large%20house%20right%20next%20to%20the%20sea.%20It%20is%20light%20blue%20with%20white%20trim%20and%20doors.%20It%20has%20a%20po#originWidth=500&originHeight=500 beach-house Cute Cottage This adorable cottage in the suburbs reminds you of old times outside while keeping a modern feel inside. wix:image://v1/d4dde1_1f312bbf4d8743a695305a3894ac89fb~mv2.jpg/Cottage%20made%20of%20white%20stone%20with%20a%20small%20green%20lawn%20and%20a%20white%20picket%20fence%20with%20a%20gate.%20#originWidth=500&originHeight=500 cute-cottage Cozy Cabin Nestled deep in the woods, this cabin offers the peace and quiet of the wilderness away from the city. wix:image://v1/d4dde1_0fe31ec5d1bb4ed184ff61fd6b42ce20~mv2.jpg/A%20wooden%20cabin%20nestled%20in%20between%20trees..jpg#originWidth=500&originHeight=500 cozy-cabin -
Add a router to your site and set the URL prefix to
listings. -
Navigate to the Backend & Public section of the Code panel and locate the
routers.jsfile. It should contain 2 methods,listings_Routerandlistings_SiteMap, with the same sample code explained in Create a Router. Additionally, a router page calledlistings-pageshould now appear in the Code panel.
Step 2 | Add dynamic page code
In this step, you'll add the page code that displays property listings for 2 router pages: the index page and the dynamic item pages.
Start by coding the index page, which will display all of the listings for visitor selection:
-
In the Page Code section of the Code panel, under Router Pages find and open the
listings_pagein the editor. -
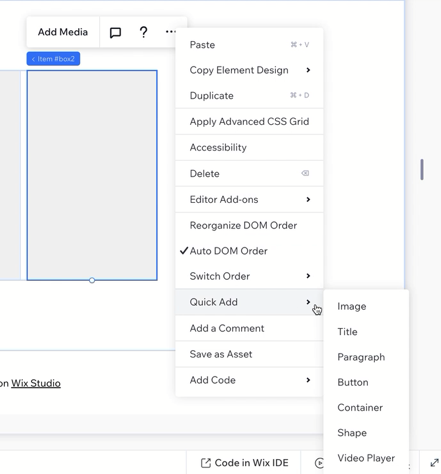
Add a repeater to the page. Select an item in the repeater and open the settings menu. Click Quick Add to add an image and a title to the repeater item.
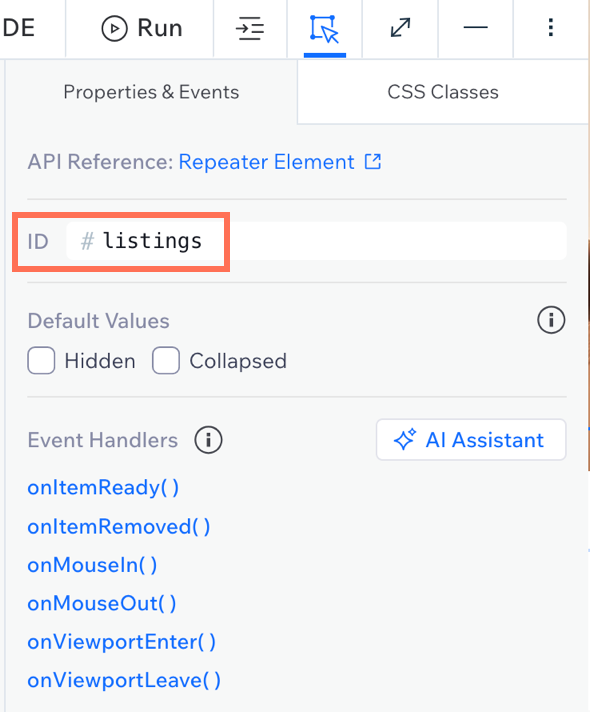
- Select the repeater and rename the ID of the repeater to
listingsusing the Properties & Events Panel.
Repeat this step with the IDs of the repeater item, title, and image that you previously added to the repeater. Select each element and give them the following IDs:
- Repeater item:
listing - Title:
listingTitle - Image:
listingImage
-
In the code editor for
listings-page, add the following code:This code retrieves data from the router and populates the repeater with listing information, setting up click handlers to navigate to individual item pages. The router controls which dynamic item page to render based on the specified slug.
Copy
The index page is now set up so that it will display all of the items in the collection. Next, add dynamic item router page:
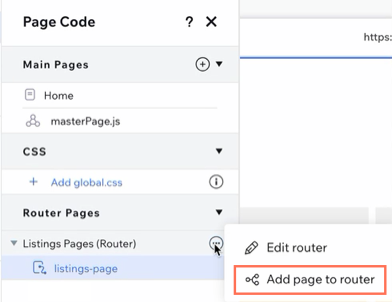
- In the Page Code section of the Code panel, under Router Pages, click the More Actions button next to Listings Pages (Router). Select Add page to router.
-
Label the new page
listingand click Add Page. You'll see a second router page under Listings Pages (Router). -
Select the
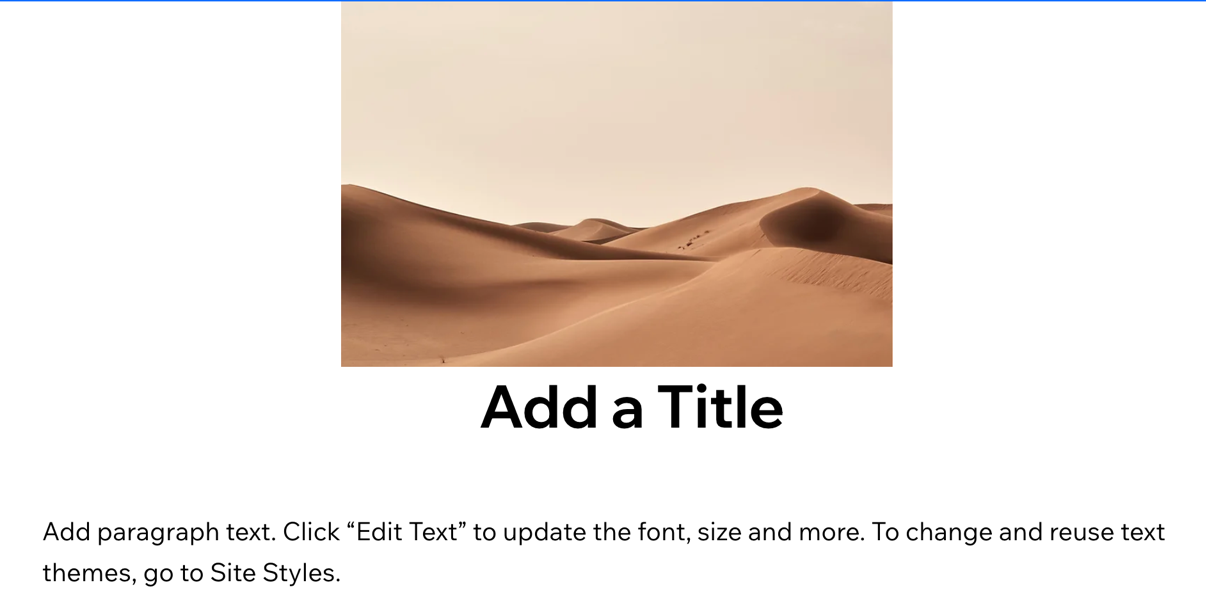
listingpage so it appears in the editor. Typically, the page would include more detail, such as price and contact information. However, for this example, keep the dynamic item page simple with a single image, title, and description.Add an image and 2 text elements to the page, and arrange the elements so the page layout looks like this:
-
In the code editor, open the page code for
listing. Add the following code:This code retrieves the specific listing data from the router and populates the elements with it on the dynamic item page.
Copy
You now have a functioning index and dynamic item page that will render your collection data based on requests to the router.
Step 3 | Add the router code
This step implements the backend logic that handles visitor requests and determines which page to display.
-
Open the
routers.jsfile located in the Public & Backend section of the Code panel. -
Import the Wix Data API. The sample code already includes the import statement for
wix-router.Your code should look like this:
CopyThe sample code also includes an object with hard-coded data. You can delete this object as it's not necessary for this tutorial.
-
In the
listings_Router()method, delete the sample code and replace it with the code below.This code checks if the visitor is requesting a specific item page or the index page. If the
pathvariable is empty, the code queries the collection and displays the index page with all property listings. It also provides SEO data for search engines.CopyTip: To find your collection ID, go to CMS > Your Collections in the sidebar. Open the menu for your collection and click Edit settings. Copy the collection ID that appears when the modal opens.
-
Add the code below after the
ifstatement you previously added.This code handles the following 2 cases when the
pathvariable is not empty:- The visitor requests an existing path.
- The visitor requests a path that doesn't exist.
The code queries the collection for a matching
slugand returns the specific listing with SEO data. If the item doesn't exist in the collection, an error page is displayed.Copy
Step 4 | Add the sitemap code
Update the sitemap method that helps search engines discover and index your dynamic pages.
In the routers.js file, find the listings_SiteMap() method and replace the sample code with the code below.
This code queries the collection to get all listings and creates a sitemap entry for each item using its slug and title. It then adds the index page to ensure search engines can discover all your dynamic pages:
Here's the complete code for the routers.js file, including both the router and sitemap methods:
Step 5 | Test dynamic pages
In this step, you'll check that the router and dynamic pages work correctly by testing them on a published site.
- Click Publish in the top right corner of the editor.
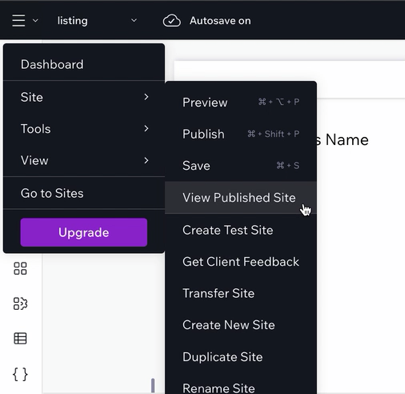
- Open the menu in the top left corner and click Site > View Published Site.
-
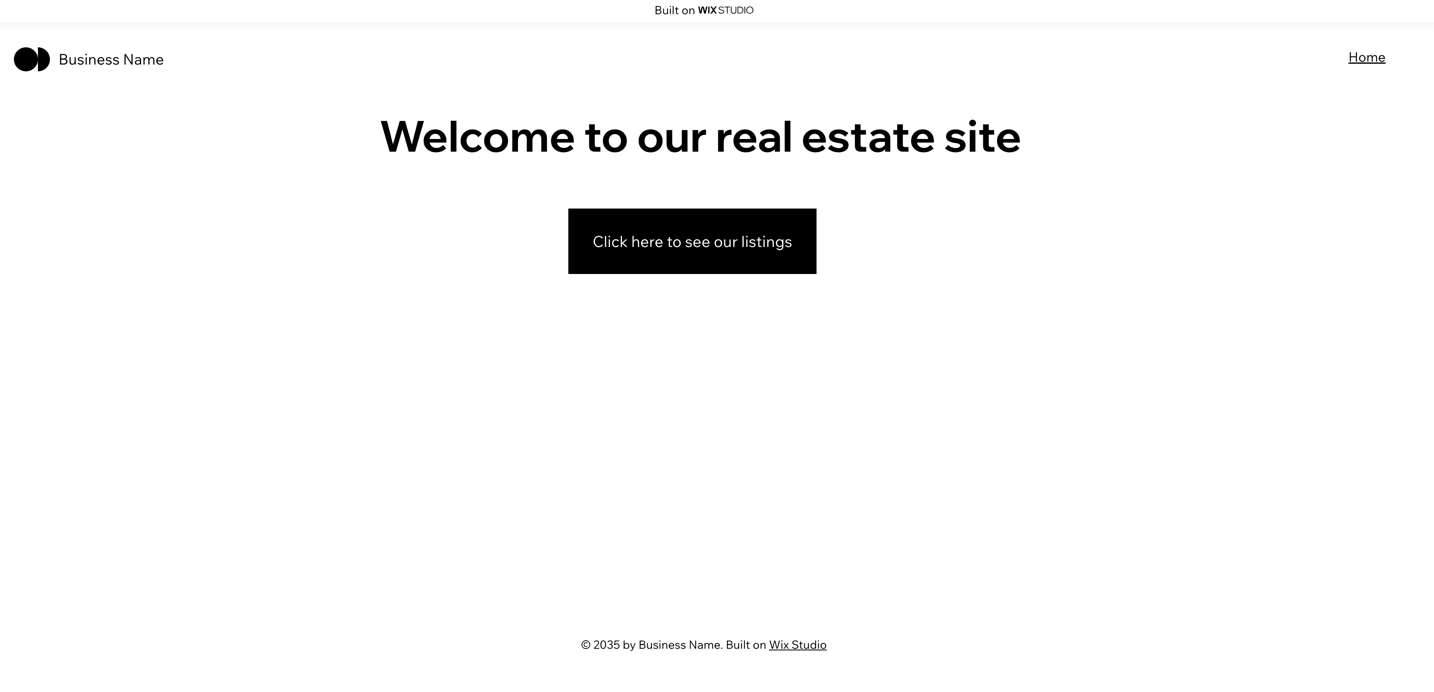
Click the button on the homepage to go to the listings index page.
Each time you click on a listing from the index page, you make a request to the router. The router redirects you to the item page, fetches the item data from the
Real Estate Listingscollection, and renders it on the page.

Now that you know your router is working, take a look at the sitemap:
-
Return to your homepage and in the address bar, add
/sitemap.xmlto your site address:Copy -
Navigate to the new address and you'll see your site's sitemap displayed in XML. For example:
Copy -
Copy the link that goes to your router page and paste it back into the address bar. Navigate to the link to see the sitemap for your router:
CopyThis is the sitemap generated by your
listings_SiteMap()method.
Congratulations! You've created a custom router and successfully set up dynamic pages for a real estate listings site.
You can continue building on this router example to enhance the site design, or apply what you learned in this tutorial to create dynamic pages for an entirely different type of content.
See also
Last updated: 11 December 2025