Quick Start
With Wix you can easily extend a site's functionality using code. This tutorial walks you through creating a simple button that changes text when clicked.
Want to see it in action? Check out our Hello World example.
In this tutorial, you'll:
- Enable coding in Wix Studio.
- Add elements and set IDs.
- Set initial text with
onReady(). - Add an event handler.
- Preview and test your code.
Before you begin
Sign up for a Wix Studio account and log in.
Step 1 | Enable coding
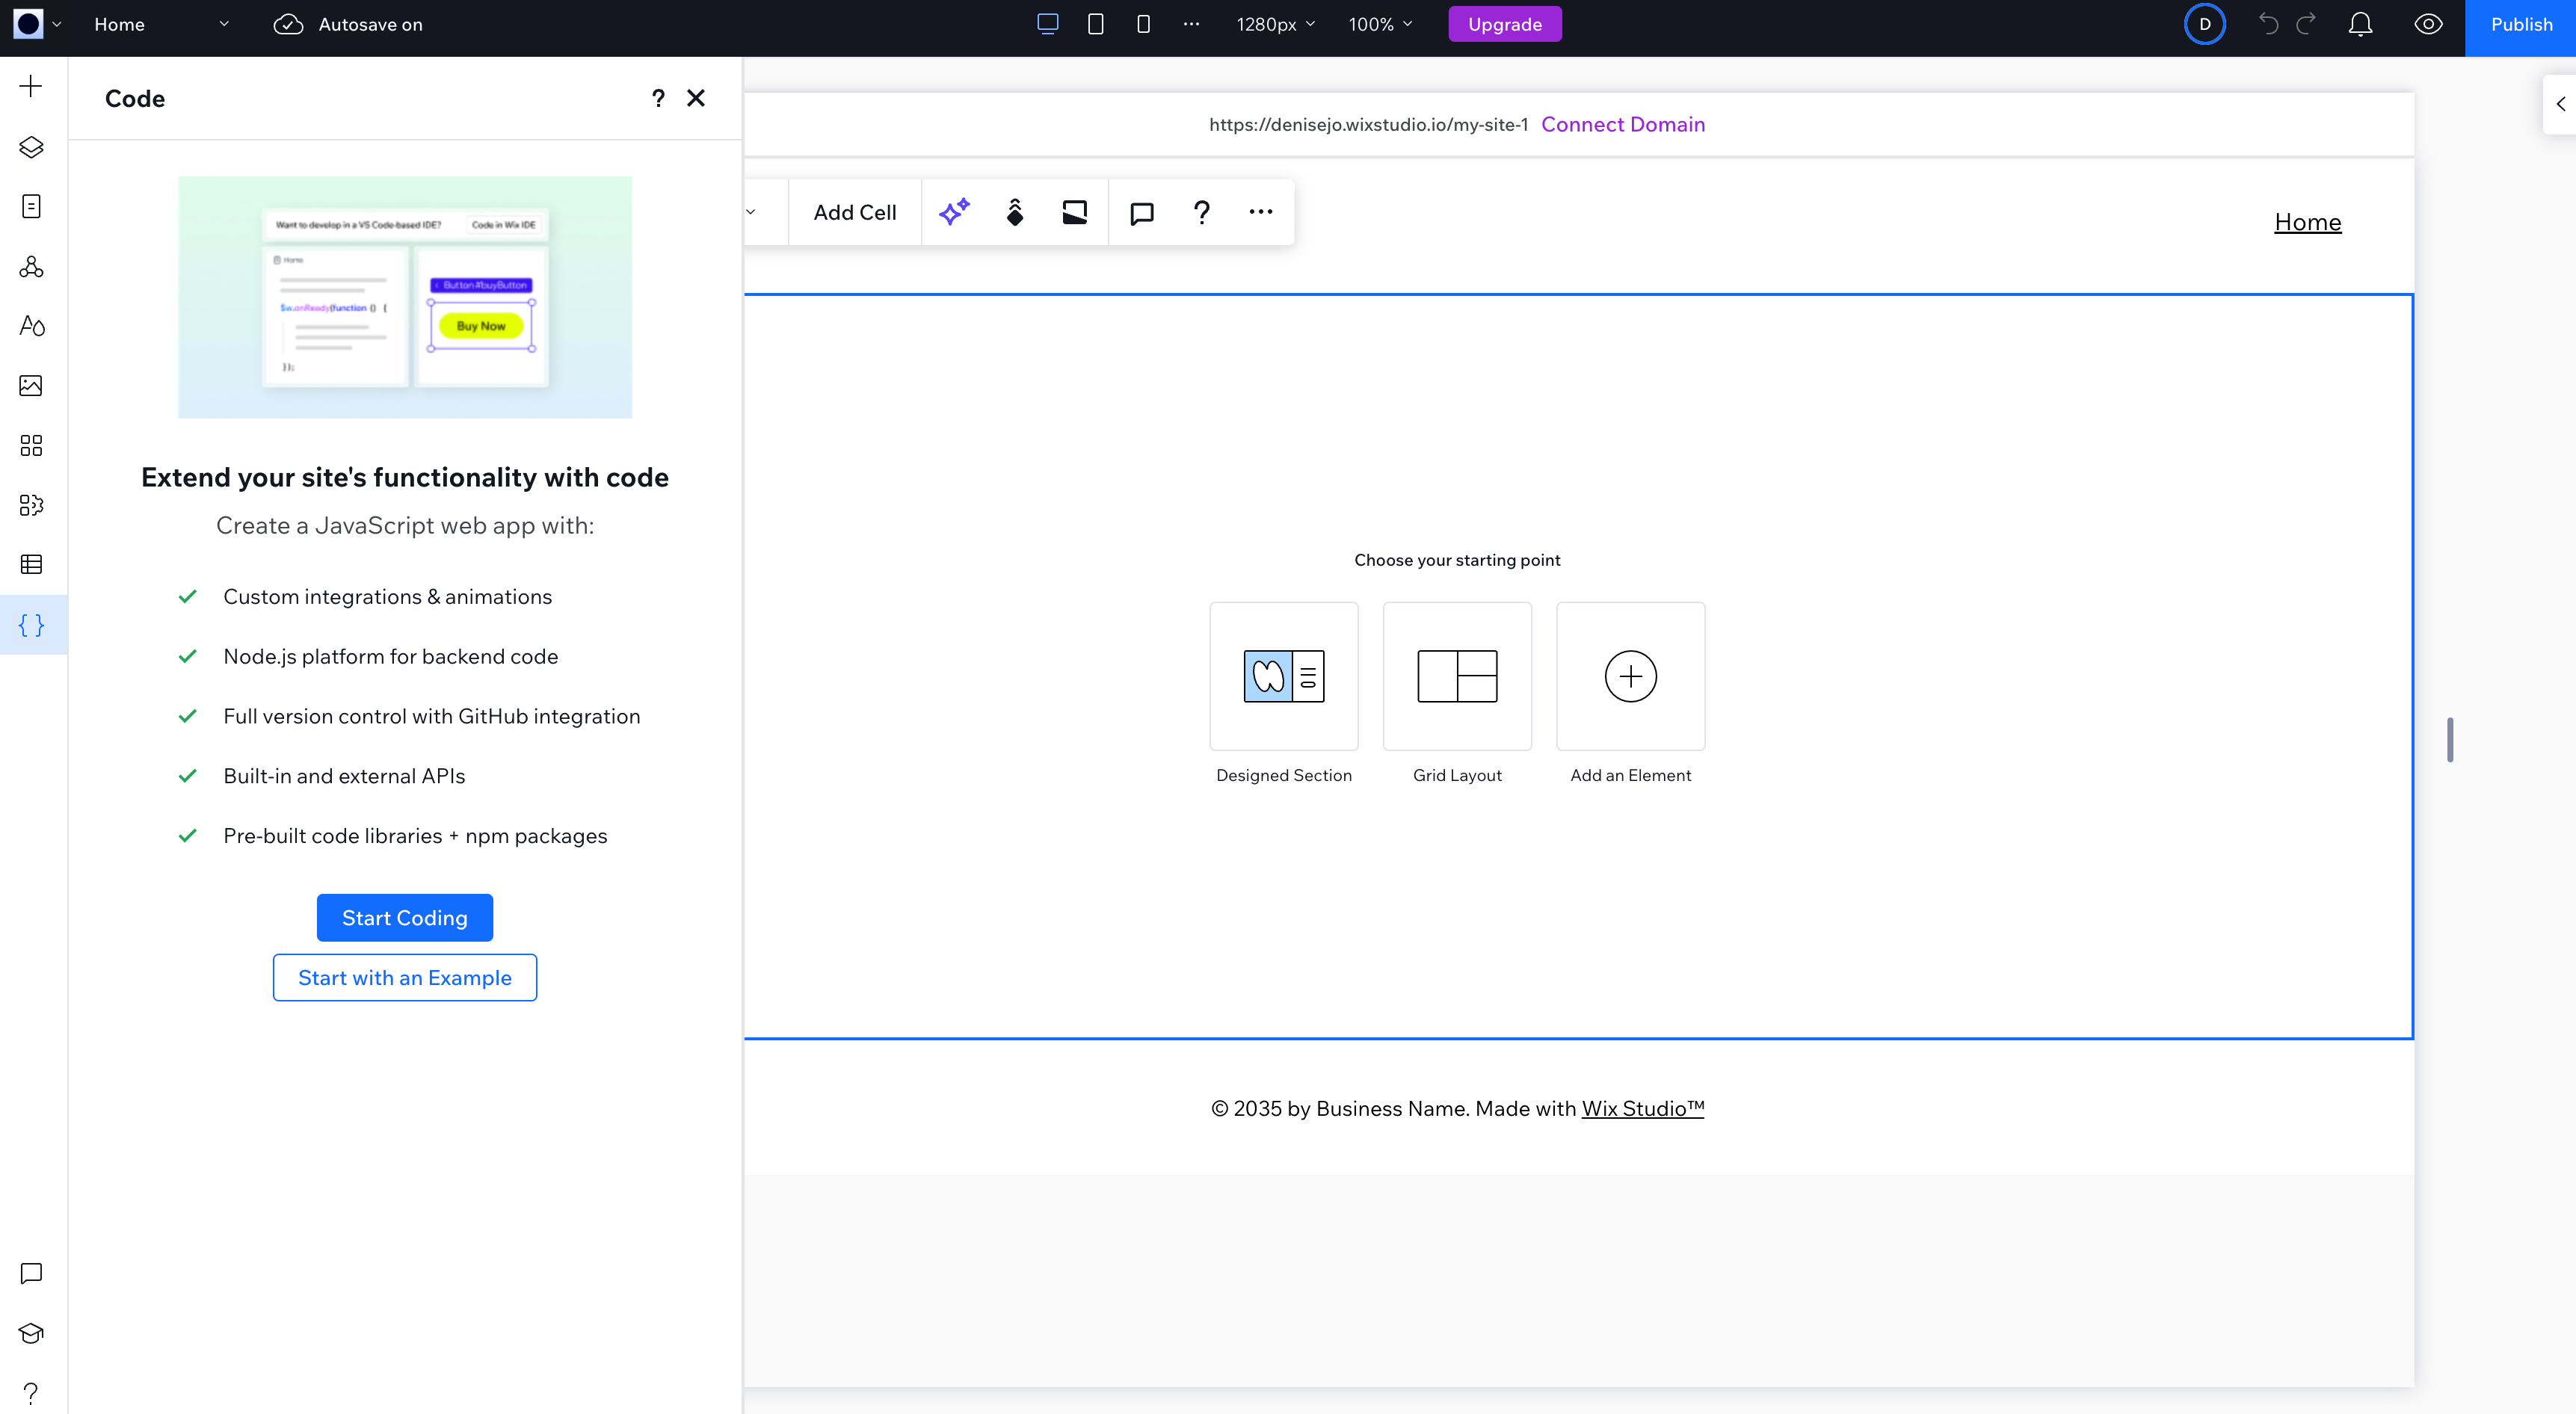
In the left sidebar, click  and then Start Coding.
This enables the built-in code editor at the bottom of your page and gives you access to the site's code files, databases, and other developer tools.
Step 2 | Add elements and set IDs
Add a text element and button to your page, then set meaningful IDs:
- Add a Text element and set its ID to
helloText - Add a Button element and set its ID to
clickMeButton
Tip: Always use descriptive IDs for elements you'll reference in code.
To access these elements in your code, you'll use Wix's $w selector:
Note: You can't use standard DOM APIs or libraries like jQuery to access Wix page elements.
Step 3 | Set initial text with onReady()
Wix provides an onReady() handler that runs when page elements finish loading. Use it to set the initial text of your element:
Step 4 | Add an event handler
Now add a click event handler to the button that changes the text:
Note that you can add the event handler directly in the onReady() handler, or outside it if you prefer.
Step 5 | Preview your code
Click Run in the code editor or the Preview icon  to test your code. The developer console shows at the bottom for debugging.
Next steps
Now that you understand Wix's core patterns, explore these resources to learn more:
- Coding Examples: Interactive examples with working code previews
- $w API Reference: Complete guide to the selector API
- Backend code: backend functions and web modules
- Data API: Database operations and CMS integration
- npm packages: Adding 3rd-party libraries