Tutorial | Work with Multi-State Boxes
A multi-state box contains multiple states with different content, and displays a single state at a time. Each state corresponds to a specific situation or status. You need to add code to your site to define when each state is displayed. This article demonstrates how to set up your multi-state box using code.
Set up your multi-state box
To set up your multi-state box, follow this general procedure:
- Add a multi-state box to your page.
- Set up the multi-state box's states.
- Add code to define when each state will be displayed:
- Define a condition (for example, a site visitor clicked a button, a product is out of stock).
- Select your multi-state box using its ID.
- Apply the
changeState()function with the state you want to move to.
Example 1: Site visitors change the state
This example shows how to set up your multi-state box so that site visitors can switch between states by clicking a button and then focus on the button in the currently displayed state to enhance keyboard and screen reader functionality for visitors with disabilities.
We added a multi-state box to our page called myStateBox, with 2 states called state1 and state2. Then we added a button to each state for switching between the states.
Note You can view and change your multi-state box and state IDs in the Properties & Events panel.
State 1
myStateBox: ID of my multi-state box.state1: ID of the current state, State 1.button1: ID of button to click to move to State 2.
State 2
myStateBox: ID of my multi-state box.state2: ID of the current state, State 2.button2: ID of button to click to move to State 1.
Code
Add the following code to your page. This code sets up click handlers for both buttons that switch between states and focus on the appropriate button in each state:
Adapt this scenario
You can adapt this scenario to enable site visitors to:
- Switch between a brief description and a detailed block of text.
- Fill out a custom multi-step form.
- Navigate what appear to be multiple tabs.
Example 2: State per status
Note: The images in this example show the multi-state box in the Wix Editor. The multi-state box in Wix Studio functions similarly to Wix Editor, with the only difference being its appearance, as demonstrated in the example above.
This example shows how to set up your multi-state box with code so that a different state is displayed depending on a particular status. The example uses Wix Store products, but you can adapt the example for other scenarios.
We added a multi-state box to our Wix Stores product page that displays a different badge depending on the product's status.
We added 3 states to our multi-state box:
- Out of Stock
- On Sale
- Featured
State 1: Out of stock
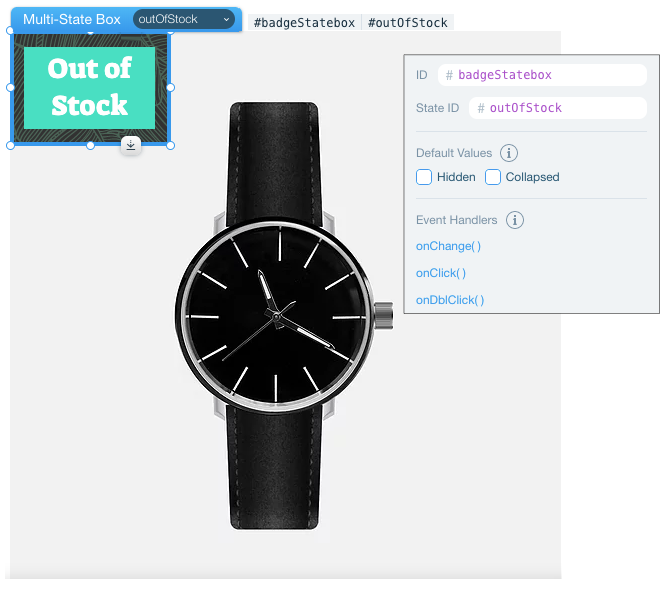
badgeStatebox: ID of my multi-state box.outOfStock: ID of the current state. For products that are out of stock.
State 2: On sale
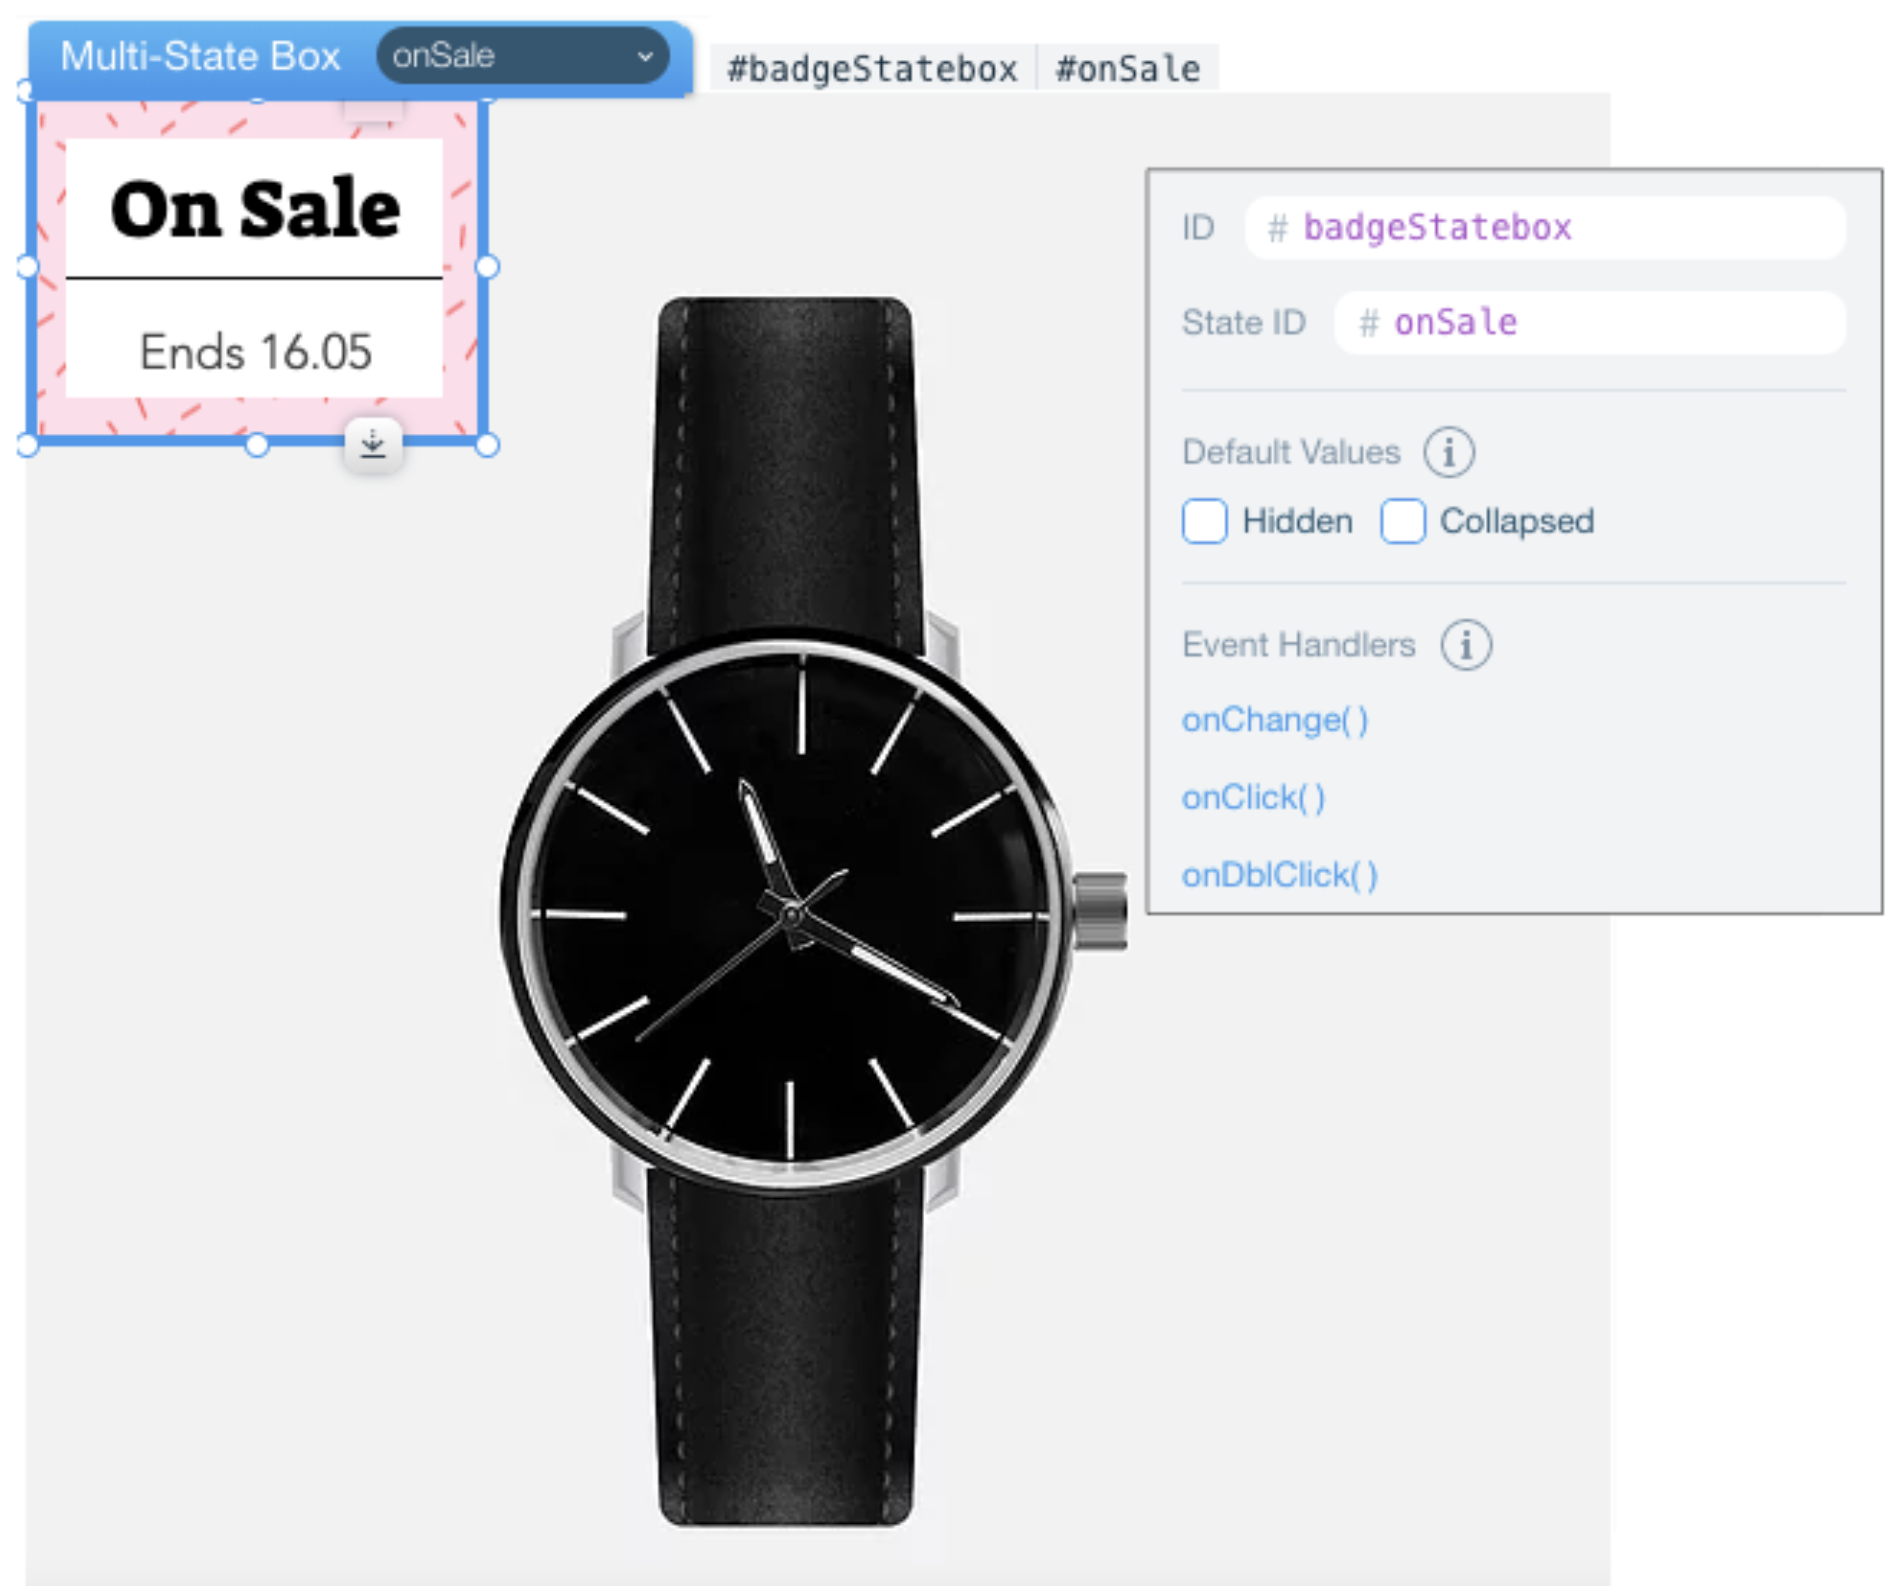
badgeStatebox: ID of my multi-state box.onSale: ID of the current state. For products that are on sale.
State 3: Featured
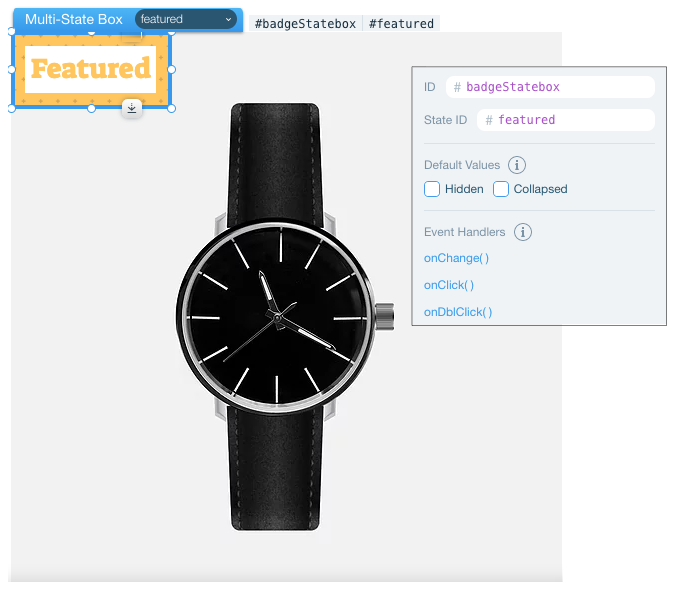
badgeStatebox: ID of my multi-state box.featured: ID of the current state. For products that aren't on sale or out of stock.
Code
Add the following code to your product page. This code listens for product changes and displays the appropriate badge state based on the product's availability and pricing:
Tip If you want some products not to display a badge at all, you could hide() the multi-state box when particular conditions are met.
Adapt this scenario
You can adapt this scenario to:
- Show different site content if a shopping cart is empty or full.
- Display an error state when something goes wrong.
- Show different site content depending on whether there's an upcoming event.
- Display a preloader while the page is loading.
See also
Last updated: 7 December 2025