Add Self-Managed Service Plugin Extensions with REST
Add a service plugin (formerly SPI) extension to your app in your app's dashboard to extend the functionality of a Wix site.
With service plugins, your app can:
- Inject custom logic into existing Wix app flows: For example, a typical eCommerce checkout process does not allow a site owner to add additional fees that are unrelated to specific line items. Your app can use the Additional Fees service plugin to add extra fees, like gift wrap charges or a fee for fragile items, to the Wix Checkout flow.
- Introduce entirely new flows to Wix sites: For example, when a site owner sets up a Wix store, there are a limited number of payment and shipping rates service providers to choose from. Your app can use the Shipping Rates service plugin to offer additional 3rd-party shipping rates providers currently unavailable to Wix sites.
Before you begin
It's important to note before getting started that your implementation must match the API specification exactly as documented. This ensures that as a service provider, Wix can use your response in its flow.
This integration includes the request envelope and signature validation as follows:
Request envelope
Each request that your endpoint receives is wrapped in an envelope with metadata and signed.
The payload that your endpoint receives is in JSON web token (JWT) format, with the following structure:
The metadata in the envelope is common to all service plugin endpoints, although some attributes may only appear in specific endpoints.
The envelope attributes are:
requestId: Unique identifier of the request. You may print this ID to your logs to help with future debugging and easier correlation with Wix's logs.instanceId: Service provider app's instance ID.currency: ISO 4217 3-letter currency code.languages: String that represents the country and language in which the response from the service provider is expected to be returned in concatenated ISO 639-1: 2 Alpha language-code and ISO 3166-1: 2 Alpha country-code format, such as"en-US".identity: Object that describes the identity that triggered this request, with the following structure:identityType: Type of site visitor making the request. Possible values:ANONYMOUS_VISITORMEMBERWIX_USERAPP
anonymousVisitorId: ID of the anonymous site visitor (if applicable).memberId: ID of the site member (if applicable).wixUserId: ID of a Wix user (if applicable).appId: ID of an app (if applicable).
Validating request signatures
As explained above, the request payload is a signed JWT. To avoid an attack where a malicious 3rd party is sending you requests pretending to come from Wix, you must verify the JWT, as follows:
- Verify the JWT signature using your public key from your app's dashboard.
- Verify that the
audclaim matches your application ID. - Verify that the
issclaim is set towix.com. - Verify that the
iatclaim is set to a timestamp before the current timestamp on your server. - Verify that the
expclaim is set to a timestamp after the current timestamp on your server.
We recommend that you use a standard library to parse and validate the JWT. There are libraries available for all popular languages. Check out the official JWT site.
Add a service plugin to your app
Follow these steps to add a service plugin to your app.
-
Select an app from the Custom Apps page in your Wix Studio workspace.
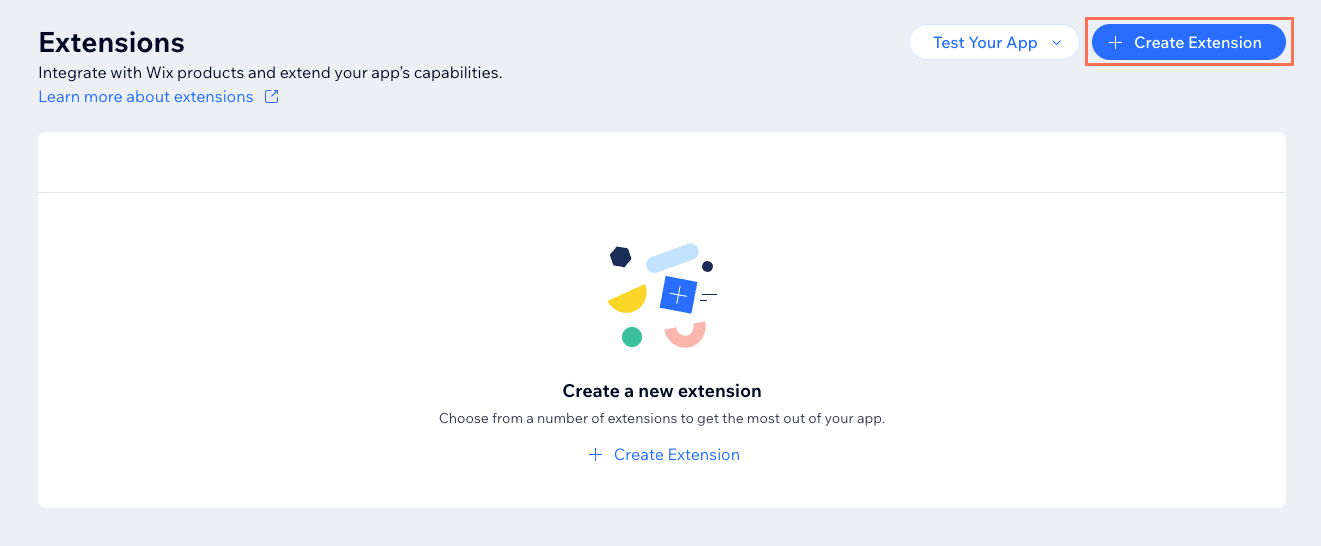
-
Go to the Extensions page, and click + Create Extension.
-
Filter by tag, or search to find the extension you want to add.
-
Select the relevant extension and click + Create.
-
In the JSON editor, configure the parameters by referencing the Documentation section on the right side of the page. For each parameter, add the parameter name and value in the JSON editor.
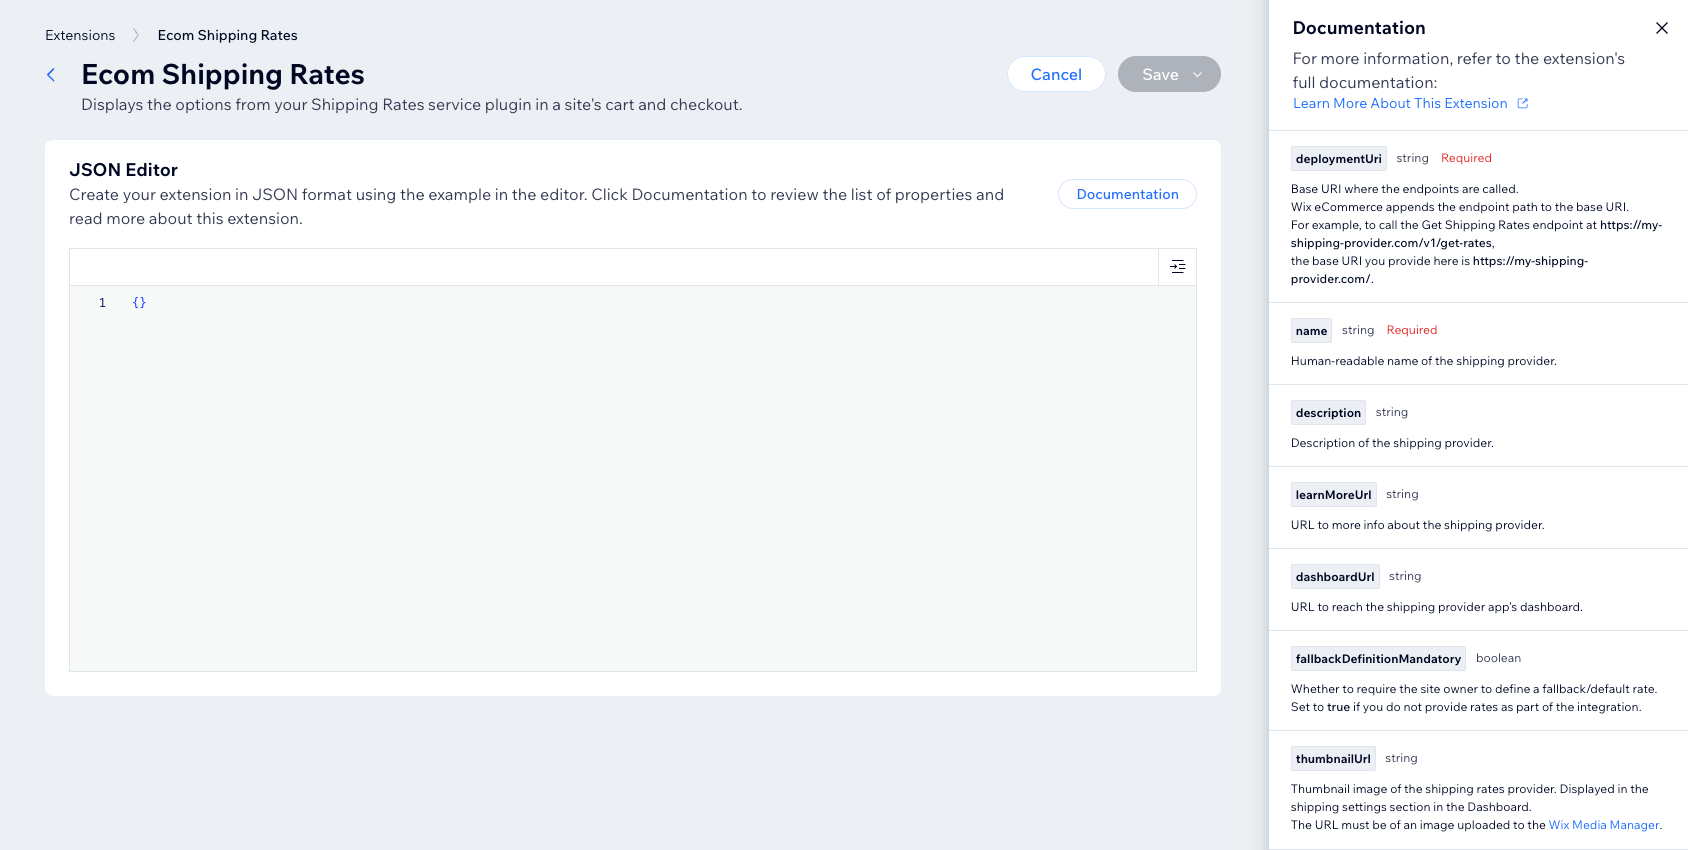
-
Click Save.
Note: For some legacy service plugins, configuration might be managed elsewhere. Refer to the documentation of the specific service plugin you are implementing for instructions.
Events
Some flows require you to send asynchronous events (webhooks) to Wix. These flows are documented in the service plugin reference. For an example, see the Payment Service Provider service plugin.
To report an event, you must call the endpoint that appears in the service plugin reference and send the required payload.
Authorization
Every call must include an Authorization header with an access token as its value.
Before you can obtain an access token, your app must have the appropriate permissions. To get these permissions, contact the Wix team mentioned in the specific documentation and confirm that your app has the necessary permission.
To obtain an access token, send a POST request to this endpoint:
Include this header:
The body of the request must be a JSON object with following format:
You can find your app ID and secret key in the OAuth page in your app's dashboard.
The response to the request has a body with the following format:
Use the value for access_token as the value for the Authorization header in your event requests.
Notes:
- Don't cache access tokens. Obtain a new one for each webhook you send.
- These access tokens are only valid for the specific service plugin. You can't use them for other Wix APIs.
- Access tokens retrieved using different
"grant_type"values can't be used to send webhooks.
See also
Last updated: 17 June 2026