Quick Start a Wix CLI App
This guide explains the minimum steps required to get a CLI app up and running using the Wix CLI.
Prefer to watch instead? Here's the video walkthrough:
Note: To develop with AI assistance, install the Wix Plugin for your IDE. It adds Wix Skills and the Wix MCP, giving your AI client the context it needs to help you build CLI projects.
Before you begin
Before getting started, make sure that you:
- Have Node.js (v20.11.0 or higher).
- Have Git installed and configured.
- Are logged into your Wix account. If you don't already have one, sign up for a Wix account.
Step 1 | Create a new app project
-
Run the following command to create a new app project:
Copy -
When asked what you would like to do, select Create a new Wix App.
-
Enter a name for your app and a folder name for your project.
- The app name is the name that appears in your app's dashboard.
- The folder name is the name of the directory containing your project's local files.
-
Enter a namespace for your app.
A namespace is a unique way to identify your app, in the format
@prefix/suffix. Some extensions, such as data collections and schema plugins, require a namespace. Wix suggests a namespace based on your app name. You can accept the suggestion or enter your own value. Once set, you can't change your namespace. -
Enter a code identifier for your app.
The code identifier is a unique, JavaScript-compatible name for your app and its extensions. Wix suggests a code identifier based on your namespace. You can accept the suggestion or enter your own value. Once set, you can't change your code identifier.
Once the CLI has created your app, the app's files appear in a local directory with the folder name you chose. At this point your app appears in the Wix app dashboard, but it isn't yet installed on a site for testing.
Step 2 | Test the app
-
Run the dev command to start the local development environment:
CopyThe CLI builds a local environment for your test site and provides a menu to view your app's dashboard pages in the browser. Any changes you make to your code are immediately reflected in the browser.
-
Select a site to install your app on for testing:
- Pick an existing site: Designates one of your existing Wix sites.
- Create a new Development Site: Builds a new Wix development site.
-
Press
Enterto open your browser and install the application on your test site. -
In your IDE, open
src/extensions/dashboard/pages/my-page/my-page.tsxand edit thetitleprop in<Page.Header>to any value you like.Note: Return to your browser, and see the change reflected immediately.
Step 3 | Call a Wix API
In this step, we show how to call an API from your app's dashboard page, using the List Locations method as an example.
-
Add the Manage Locations permission to your app. To do so, go to Permissions in your app dashboard, click Add Permissions, search for Manage Locations, select it and save. Permissions define what data your app can access on an installed site.
-
Install the
@wix/business-toolspackage so you can work with the Locations API.Copy -
Update the code of your dashboard page extension to display a list of all the business locations in your site:
-
Open your dashboard extension's tsx file. The path should be
/src/extensions/dashboard/pages/my-page/my-page.tsx. -
Add the following import statements to your file:
Copy -
In the
DashboardPagecomponent add alocationNamesstate variable and auseEffecthook that callslistLocations()and extracts the list of location names tolocationNames. Your code should look like this:Copy -
In the
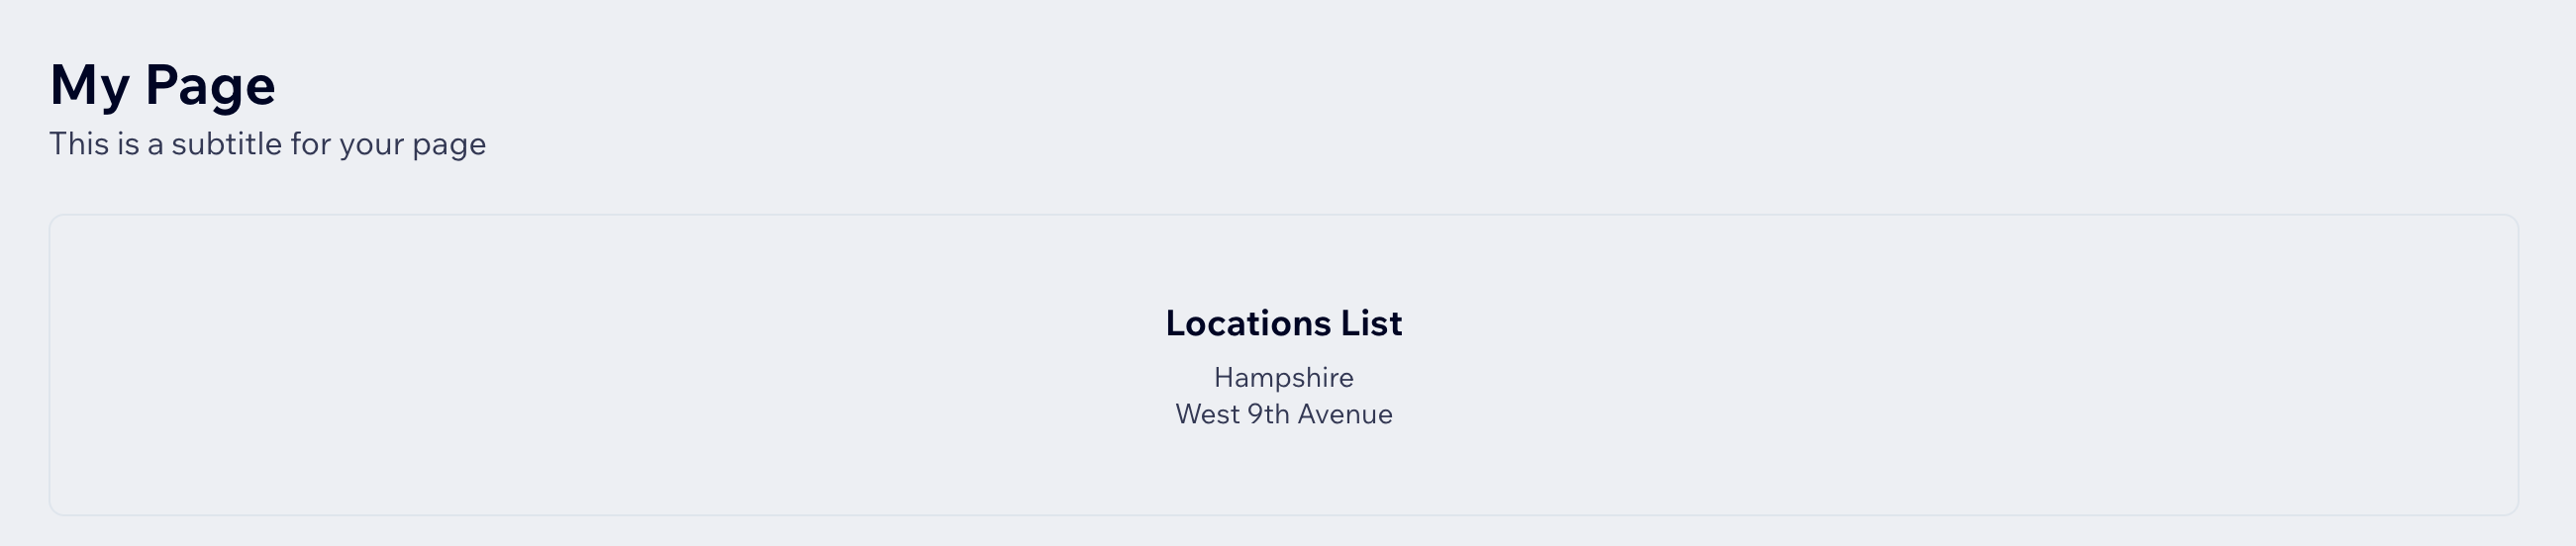
Page.Contentelement of your component, change thetitleto"Locations List"and thesubtitleto the value oflocationNames. Your code should look like this:Copy
Full example code
CopyYour dashboard page is now set up to load and display the names of the site's locations.
-
-
Test the API call:
-
Run the dev command to start the local development environment:
Copy -
Click the link to open your development site's dashboard.
-
Navigate to your app's page in the dashboard under Apps.
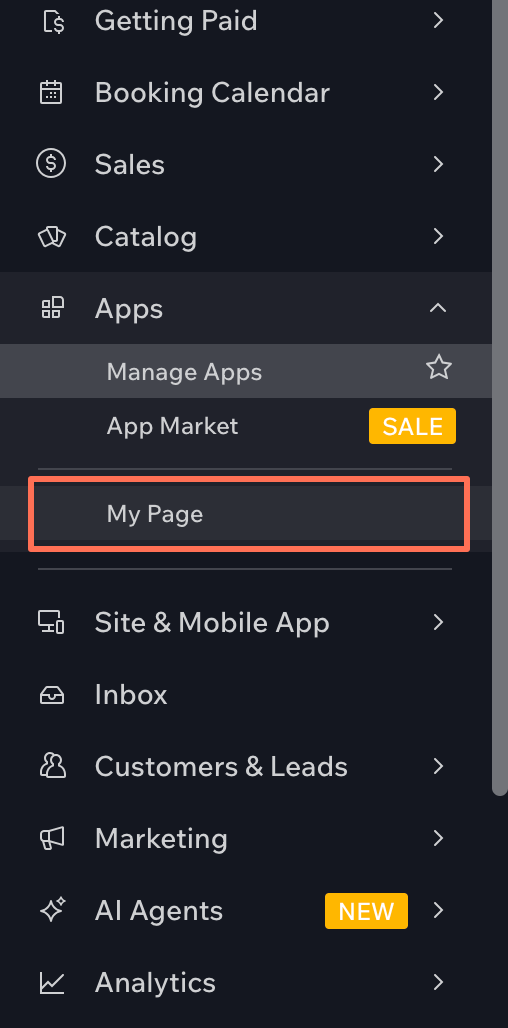
-
Your app's dashboard page should load and display a list of locations.
-
Next steps
After completing the above steps, you have a simple Wix app that you can experiment with and test locally.
You can now:
- Add extensions to your app.
- Learn more about developing your app.
- Install the Wix Plugin to set up Wix Skills and the Wix MCP in your IDE for AI-assisted development.