Tutorial | Create a Recipes App Using Blocks
Editor compatibility
Wix Blocks apps aren't supported in the Wix Harmony editor. Existing Blocks apps remain available for purchase on the Wix App Market for Wix Editor and Wix Studio sites. To learn more, see About Wix Harmony and Blocks.
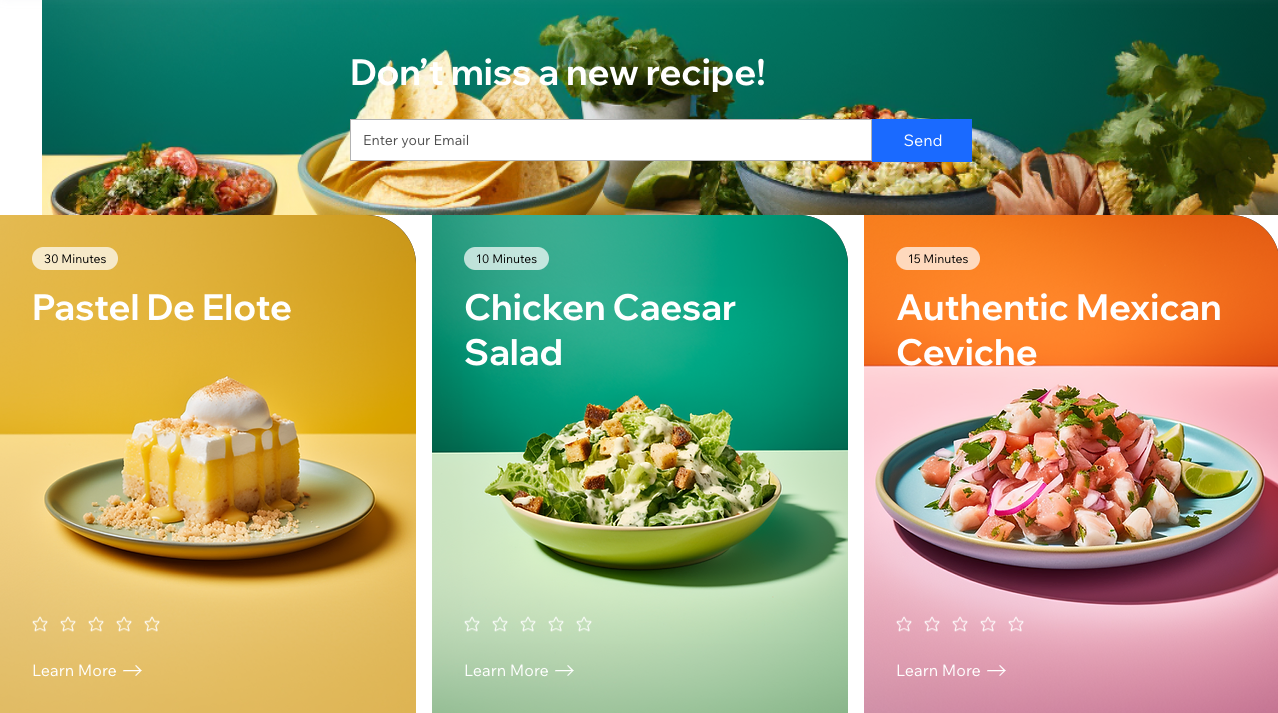
This tutorial walks you through building the Recipes app. The app showcases recipes on Wix sites, so site visitors can see an image, description, and rating for each recipe. They can also subscribe to get new recipes.
The app includes:
- 2 widgets - Recipes and Subscribe
- A custom settings panel
- A collection for holding the recipes data
- A dashboard page for allowing builders to interact with data in the app
Ready to begin? Create your own copy of the app in Blocks. The link leads to a template with most of the design and some of the code ready.
Notes: Throughout this tutorial, you'll move back and forth from creating the app in Wix Blocks to testing it on a Wix site.
Step 1 | Create a new Design Preset
Design Presets are Blocks' way of allowing you to have multiple designs and layouts for the same widget. They're often used for adapting the app for different devices, like desktop and mobile. The first thing we'll do is create another preset for when the widget is used on a mobile phone. This preset will be a duplicate Card Layout preset, with a few changes.
- In case you missed this first step: click this link to create your own copy of the app.
- Name your app: go to the top bar and click on the app's temporary name.
- Go to the Design Presets menu. The app template already has 3 presets and you'll create a new one now.
- Duplicate the Card Layout preset (to do this, hover, then click the
 icon).
 - Rename the new preset to Mobile Layout and make sure it's selected.
- On the right side of the screen, go to the Design menu of your widget.
- Click on the Layers
 menu and select the entire widget.
 - Change the widget's width to 320px.
- In the Layout section, click Rows.
- Select your widget's first grid row. Change the first grid row height to 150px.
See screenshot

-
Go to Layers
and click on the first box in the #recipesRepeater. Click on the #recipesTitle. -
Change the title's font size to 18.
See screenshot

- Click on the Description, click
 , then Display, and set it to Hide on this preset, to hide the description in mobile.
See screenshot

- Go back to the Card Layout preset and check that the description does appear there.
Step 2 | Test the app
Test your app on a site to see how it works.
- Click Test on the top right.
- You will be prompted to create a namespace first. Your namespace allows your app to interact with data collections and code files in its code.
- Create a test version.
- Select a site to test your app on. If you don't have a test site, click Create Dev Site.
- Add your widget. Go to the App Widgets section of the Add
 panel. Click or drag the Recipes widget to add it to your site.
See screenshot

Now let's do some actions on this widget in the site, just to see how it works.
- Click the Stretch
 icon to stretch your widget in the site section.
 - Go to your desktop
 view. Click the Presets
  action button of your widget and change the preset.
 - Go to your mobile
 view and change your preset again to the Mobile Layout preset.
 - Right-click on the widget and click Reset Widget, to go back to the original design.
Step 3 | Add the recipes collection in Blocks
Now, go back to Blocks to continue creating the app.
- Go back to Blocks.
- Click the CMS icon.
- Create a collection called recipes.
- Add the following fields (make sure that the names are exactly the same, no caps):
- image type Image
- description type Text
- duration type Text
- rating type Number
- Go to our demo site, search for the words "Collection data" and save the data file to your computer.
- Import the data to your collection.
See screenshot

- Click More Actions and select Collection settings from the dropdown.
- Copy the collection ID.
See screenshot

-
Go to collectionUtils.js file in the Public and Backend
 files. This is the file for interacting with the app's collection.
 -
Change the value of collectionName from '@wixBlocks/recipes-app/recipes' to your collection ID.

Step 4 | Add logic to the Recipes widget
This step populates the repeater with the data from the collection, using code.
Code snippets
You can also find the following code snippets in the codeSnippets.js file in the Public and Backend  section.
- Click App Interface
 to go back to the Recipes widget.
 - Paste the following snippet in your widget code.
- Create an initRepeater() function. For now, create the repeater to show 4 items. We'll change this later.
- Await the initRepeater() function in your widget's onReady() function.
This is the full widget code at the moment:
Step 5 | Create the Recipes widget API
In the previous step we defined the repeater to show 4 items from the database. But what if a site builder who installed your app wants to show a different number of items? Let's add a property to the Recipes widget API. The property will hold the number of items to display in the widget, and will replace the constant number of 4 that we added in the previous step.
- Click the Widget API
 icon, on the right of your widget's code area.
 - Click Add New Property
- Name your property itemsToDisplay and give it a display name (such as: "Items to Display", which is more readable).
- Give it a type of number and a default value of 3.
See screenshot

- Update the populateRepeater function so that it sends the prop as a parameter instead of the 4.
The onPropsChanged() function is triggered when an event of props changing is detected. You can add custom logic to this function.
- Await the initRepeater() function in your onPropsChanged() function:
Here is the full widget code, after adding the property.
Step 6 | The "My Settings" panel
When a site builder installs your widget, they can change the value of the properties with an autogenerated Settings panel in your widget's floating menu. However, you can also build a custom panel and add custom logic to it.
- Click the Editor Experience icon.
- Click the Custom Panels tab. The app has a custom panel nameD My Settings. Look at the code tab. The code gets the property and sets a slider's value accordingly.
- Add an onChange() function inside the onReady(), so that when the property is changed by the slider, the function notifies the panel to set the widget props again.
This is the full panel code:
Tip: Note the wix-widget and wix-editor modules at the beginning of the panel code. They are unique to Blocks custom panel code.
Step 7 | Make configuration changes
The Configuration tab in the Editor Experience  panel allows you to control the editor experience of a site builder who installs your app.
- Click Editor Experience .
- Go to the Configuration tab.
- Click the gray part of the widget, to edit the action bar of the Recipes widget.
- Click the Settings button.
- Click Action Button Settings and connect it to the My Settings panel.
Now, whenever a site builder clicks "Settings", they will see your custom panel.
See screenshot

Another change you can make in the Configuration tab is to prevent layout elements from being selected. A site builder has no reason to select the repeater in your widget.
- Select the repeater and uncheck Element can be selected box.
See screenshot

Step 8 | Check the app on your site
Let's check that the app works on your site.
- Click Test to test your app on the same site again. Go to your test site.
Now let's add data to the collection in the site, to check the app functionality (learn more).
-
Go to the CMS
 and add the CMS to your site.
 -
Find your collection.
-
Click on the collection name and open it. See that the default data from Blocks was imported.
See screenshot

-
Click on your widget's Settings button and change the number of items to display.
-
Go to preview and see that the number of items changed. If it did, your test is complete!
Step 9 | Add the Subscription widget
Blocks allows you to create another widget and insert it inside the main widget. For example, let's say that you want to allow people to subscribe to an email list through your Recipes app. To do this, we created another widget, named Subscription. However, this is just a dummy widget for the purpose of this tutorial - we didn't implement the code. This is how you add the Subscription widget to your Recipes widget:
-
Go to Blocks.
-
Open the Add
 panel.
 -
Click My Widgets. Here you can see all the widgets and their presets. Scroll to the end of the list.
-
Drag the Subscribe widget to be on the top part of your Recipes widget.
See screenshot

Step 10 | Make layout changes
Let's make some layout changes to adapt the Subscribe widget to the Recipes widget.
- Click the Subscribe widget (make sure that you select the entire widget and not any internal element).
- Go to the Position tab of the Inspector
 .
. - Change the margins to 42px on the top and left.
- Right-click on the Subscribe widget and select Use on All Presets. Now your layout changes apply to all presets.
See screenshot

Let's make some more changes in the mobile preset.
- Go back to the Design Presets section of App Interface and click your Mobile Layout preset.
- In the inspector, click on 3 dots and enable Advanced sizing.
- Change the Width to 86%.
- Align to center - both vertically and horizontally.
See screenshot

Step 11 | Create a Blocks Dashboard Page
Now we want an easy way for users to interact with the collection of recipes, so they can add and manage their recipes. For this, we have the app's Dashboard (learn more). When a site builder installs your app on a site, the Dashboard page will be added with it.
- Go to your app's Dashboard page.
See screenshot

- Let's look at the Dashboard page. The Dashboard is made out of a large multi-state box (you can see this easily in the Layers
 panel). The multi-state box has 2 states, one to manage all the recipes and one to manage individual recipes. You can click on each state and see the difference between them.
See screenshot

- Look at the #recipes state. It has 2 buttons:
- Add Recipe: changes the state of the multi-state box to the form state.
- Manage Collection: navigates to the CMS page in the Dashboard.
- Look at the Dashboard's code tab to see the buttons' code:
Note: wixDashboard.navigate() gives you the ability to navigate >to other dashboard pages. You must enable Dev Mode in your site to do so.
-
Look at the #form state. It has 2 buttons:
- Cancel cleans the form
- Save uploads the image and updates the repeater.
-
Look at the Dashboard's code tab to see the buttons' code:
Note: The initRepeater() function in the dashboard code looks almost identical to the initRepeater() in the widget >code. They both use the functions from the repeaterUtils.js file.
- In the Dashboard page, go to Preview and try adding another recipe.
Step 12 | Connect the dashboard to an action button
- Go back to the Recipes widget.
- Go to the Configuration tab.
- Click the secondary action button, which is Change Design.
- Click Action Button Settings.
- Set the button to open a Dashboard instead of a panel.
- Set the main action button text to Manage Recipes instead of Change Design.
See screenshot

Now that we finished building our app, it's time to build a major version (learn more about versions in Blocks).
- Click Release and select Major Version.
Step 13 | Check the app on your site again
- Go to your site's editor and update the app's version.
See screenshot

-
Open the site's dashboard.
-
You'll see a new dashboard page with your app's name. Click on it.
See screenshot

-
Click Add Recipe and add an item in the dashboard.
-
Click Manage Collection. Open the collection and view the item you just added.
-
You can also go back to the site editor and change the number of items again.
Step 14 | Installation settings
Blocks installation settings determine how this app is installed for other people's websites.
- Go back to Blocks.
- Click on the 3 dots next to the Subscribe widget name.
- Click Editor Experience and Edit Installation Settings.
- Click Installation Settings.
- Set it as Not added automatically (to a site's Add
 panel). This is because people will install the main widget and get the inner widget in it.
See screenshot

-
Click the Recipes widget. Set it to be Added to homepage.
-
As a default preset, choose the Editorial Layout.
-
Choose the Mobile Layout preset to be the default for mobile.
See screenshot

-
Click Save.
-
Go back to Blocks and click Release again to apply the installation settings.
-
To see the installation settings in action, you need to uninstall and reinstall the app.
Step 15 | Publish your app in the Wix App Market
Blocks apps can be used on your own sites and save you lots of copy-and-paste. They can also be published and sold in the Wix App market and earn money. The last thing we'll do is simulate how to publish your app, in case you want to publish your own app in the future.
- Click WixBlocks -> App.
- Click Publish App. This takes you to Wix Developers.
- Click Pricing. Create a Premium plan and decide on its pricing.
- Build your app in Blocks again.
Now your app has a premium plan. The next step is to configure what happens in Blocks according to the different plans that a user purchased. What extra abilities do you want them to have? For example, in our app, we might want the subscribing option to be disabled until a user has paid. Learn more about adapting your app to a pricing plan.
Last updated: 5 July 2026