Add Self-Managed Service Plugin Extensions with the SDK
Add a service plugin (formerly SPI) extension to your app in your app's dashboard to extend the functionality of a Wix site.
With service plugins, your app can:
- Inject custom logic into existing Wix app flows: For example, a typical eCommerce checkout process does not allow a site owner to add additional fees that are unrelated to specific line items. Your app can use the Additional Fees service plugin to add extra fees, like gift wrap charges or a fee for fragile items, to the Wix checkout flow.
- Introduce entirely new flows to Wix sites: For example, when a site owner sets up a Wix store, there are a limited number of payment and shipping rates service providers to choose from. Your app can use the Shipping Rates service plugin to offer additional 3rd-party shipping rates providers currently unavailable to Wix sites.
If you prefer to host your app on Wix, you can add a service plugin extension with the CLI.
Follow these steps to implement a self-managed service plugin with the Wix JavaScript SDK:
Step 1 | Add a service plugin extension to your app
Add a service plugin extension to your app in your app's dashboard as follows:
-
Select an app from the Custom Apps page in your Wix Studio workspace.
-
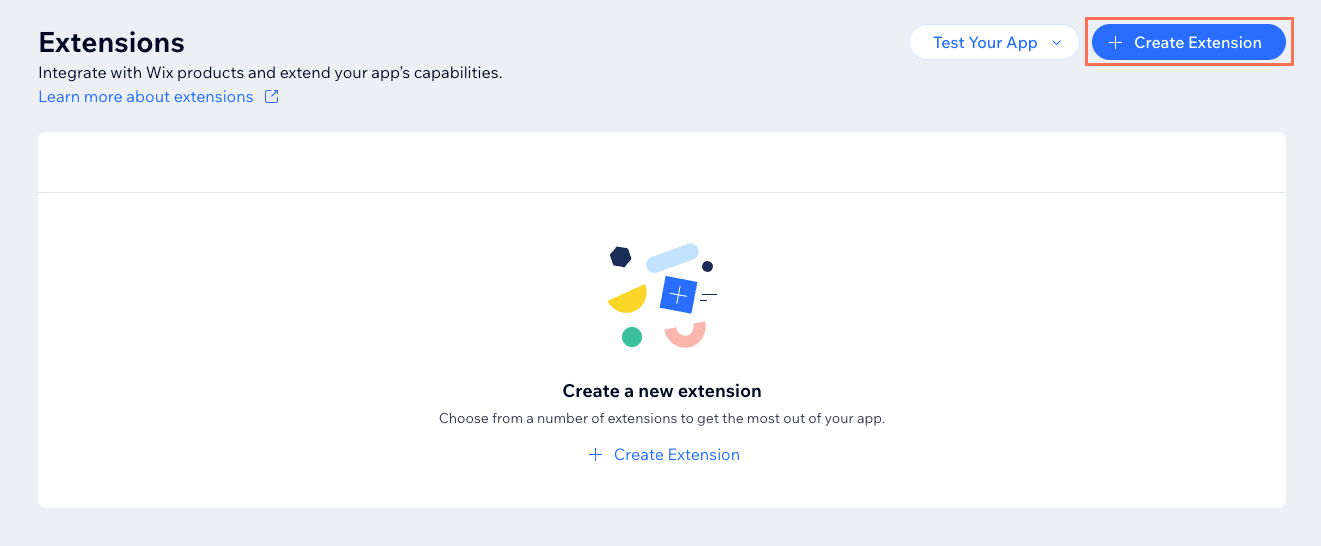
Go to the Extensions page, and click + Create Extension.
-
Filter by tag, or search to find the extension you want to add.
-
Select the relevant extension and click + Create.
-
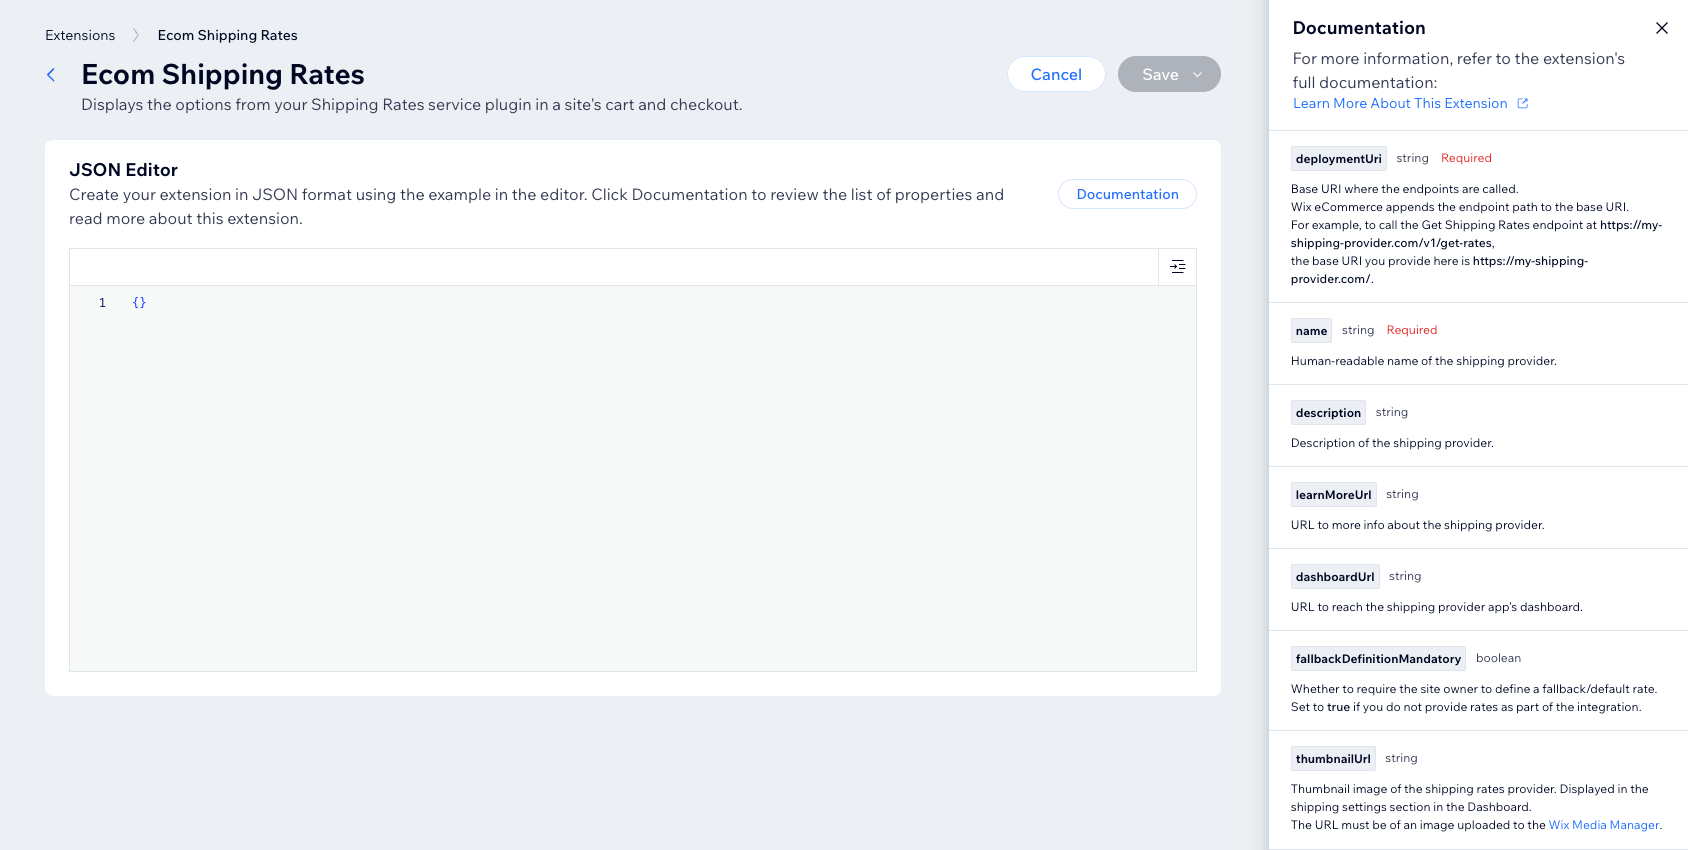
In the JSON editor, configure the parameters by referencing the Documentation section on the right side of the page. For each parameter, add the parameter name and value in the JSON editor.
-
Click Save.
Step 2 | Retrieve your app's ID and public key
To implement a self-managed service plugin, you'll need to retrieve these credentials from your app's dashboard:
- App ID: Find this in your app's OAuth page in your app's dashboard.
- Public key: Learn how to retrieve your app's public key in your app's dashboard.
Step 3 | Import modules and create a client
In your app code, import the Wix client and service plugin modules you need, then call createClient() with the AppStrategy auth strategy to create a client for making authenticated calls to Wix APIs:
Make sure you:
- Import the correct module for your service plugin and pass it in
moduleswhen creating the client. - Provide the app ID and public key you retrieved in the previous step.
Step 4 | Define handler functions
Now it's time to add your custom business logic. Do this by calling provideHandlers() and passing it an object containing handler functions for each service plugin functionality you need:
For example, to implement the Shipping Rates service plugin, define the getShippingRates() handler function as follows:
When a site action triggers one of these functions, Wix passes the function a payload object containing the following properties:
request: Details related to the specific service and action.metadata: Information about the context of the request, such as the App Instance ID, site currency, language, and identity of the user who triggered the request.
To find the handler functions a service plugin supports, and the precise structure of the request and metadata objects for each handler function, see the reference documentation.
Step 5 | Expose an endpoint
Define a route to handle POST requests from Wix. Use the /* wildcard to enable the endpoint to catch all requests to all sub-paths. In your route handler, call process() and pass it the request. This function takes care of the following for you:
- It decodes the JWT-encrypted requests.
- Based on the sub-path of the request, it triggers a call to the correct handler function you defined with
provideHandlers()and passes it the request payload.
For example, if you are using Express, you can implement the endpoint simply as follows, regardless of which handler functions you defined:
Full code example
Here's an example of implementing this code for a shipping rates service plugin:
See also
Last updated: 17 June 2026