Handle Webhook Events without the JavaScript SDK
Notes: This article explains how to handle events with webhooks without using the JavaScript SDK. If you're using the JavaScript SDK, instead read Handle Webhook Events with the JavaScript SDK. The webhook data structure differs depending on whether the JavaScript SDK is used. For the webhook data structure relevant to this implementation (without the SDK), refer to the documentation in our REST reference.
To handle events with webhooks, you need to subscribe to the webhook and create a webhook handler. When you subscribe to a webhook in your app dashboard, you specify the endpoint where Wix should send webhook data. Then, when the event occurs, Wix sends a POST request to your handler containing event data and proceeds based on your response.
Notes:
- When building apps using Blocks, handle events using Velo instead of webhooks.
- When building apps using the CLI, handle events using event extensions.
This article outlines the process of subscribing to and processing the order canceled webhook from Wix eCommerce.
Step 1 | Subscribe to a webhook
To subscribe to a webhook:
-
Go to the Webhooks page in your app's dashboard.
-
Click + Create Webhook.
-
Select an API Category. For example, eCommerce.
-
Choose a webhook event from the available options. For example, Order Canceled.
Tip: A simple code sample is provided that you can use to set up a server that handles the event. See Step 3 for more information on handling the event.
Your public key is provided in the code sample. Even if you don't use the code sample, save the public key in a secure location for use later in this flow.
-
Enter your server Callback URL. This is where Wix sends the event data.
-
Add the relevant Permissions.
-
Click Subscribe.
Your app is set up to receive the webhook.
Step 2 | Retrieve your public key
Webhook payloads are sent in JSON web token (JWT) format. Your public key allows you to verify the signature in any webhook you receive.
Your public key was provided in the code sample in step 1, but if you need to retrieve it again, it's available on your app's home page under View ID and Keys:
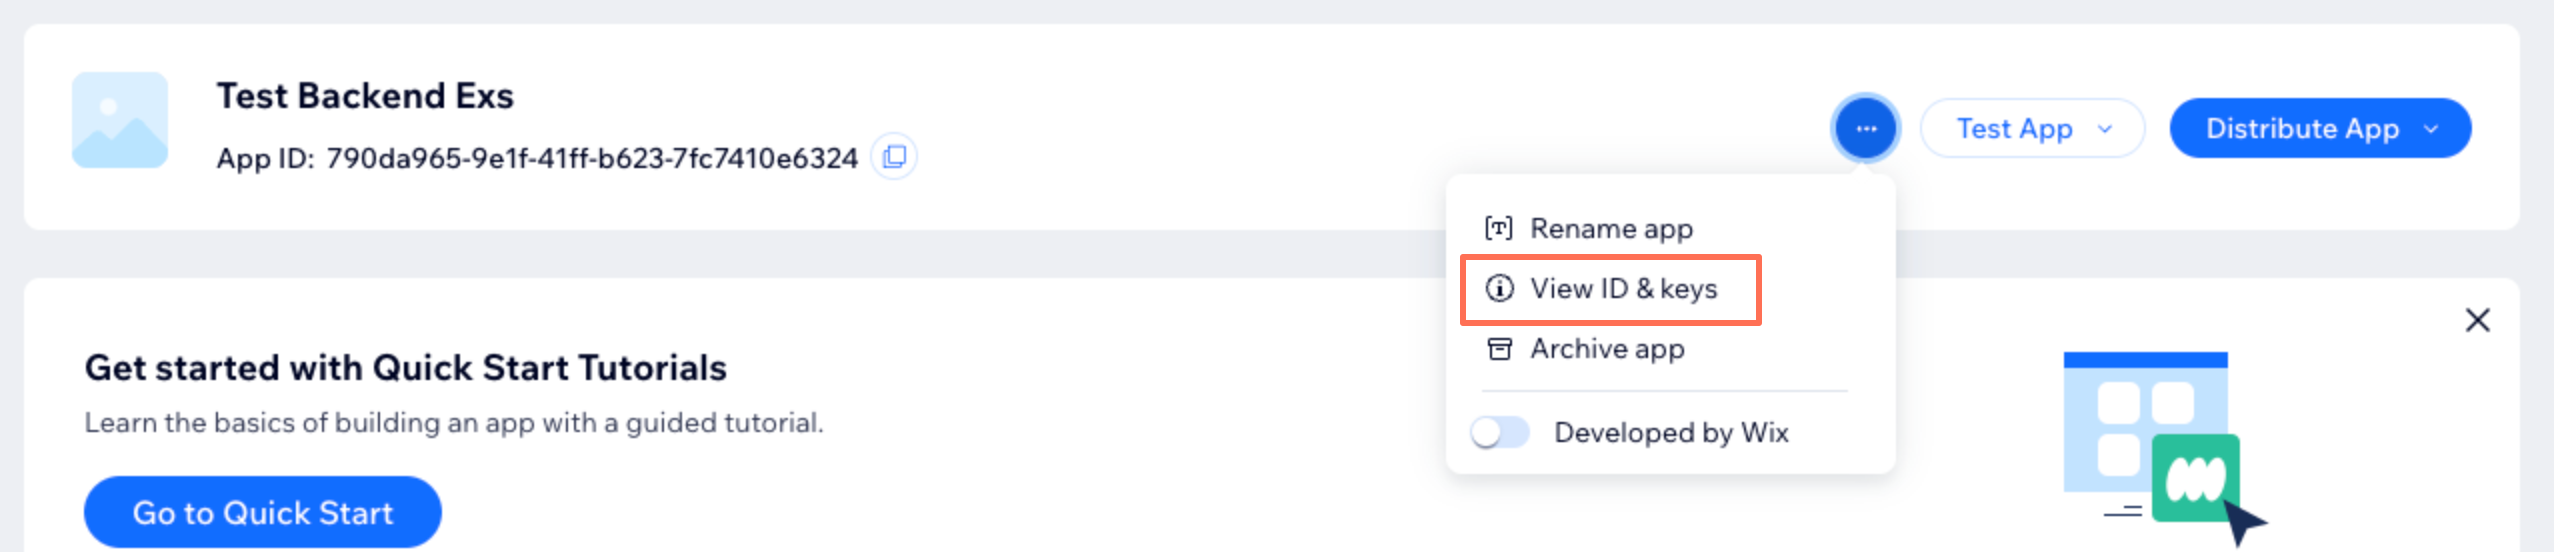
Save the public key in a secure location.
You need to use this public key in your handler to verify that the request is from Wix.
Step 3 | Handle the event
The following steps demonstrate how to handle a webhook event.
Note: The following instructions are for JavaScript without the SDK. When creating a webhook in the app dashboard you can also view a JavaScript example that does use the SDK, and Python and PHP examples.
-
Set up an Express server to handle incoming webhook requests:
Install the
expresspackage:CopyThen add the following code:
Copy -
Install the
jsonwebtokenpackage, which we use to verify the request.CopyThen add the following code:
Copy -
Define a
POSTendpoint/webhookon your Express server to receive incoming webhook payloads.CopyImportant: You must return a 200 response upon successful receipt of the webhook.
-
Within the endpoint, verify the token and then handle incoming webhook payloads, specifically the payload from your event. For details about the payload, see Webhook Structure.
CopyNote: The app instance ID is sent along with the event data. Learn more about app instances.
Here's the complete code example:
Note: Though not shown in this example, we recommend storing processed event IDs and checking against them before processing new webhooks to ensure you don't process the same event multiple times.
See also
Last updated: 17 June 2026