Add a Pre-Installed Automation to your App
Follow this guide to learn how to add a pre-installed automation to your app.
Before you begin
The app you want to set up an automation for needs to be installed on a Wix website. Learn how to install your app on a free Premium development site.
Step 1 | Select a site to create an automation template
-
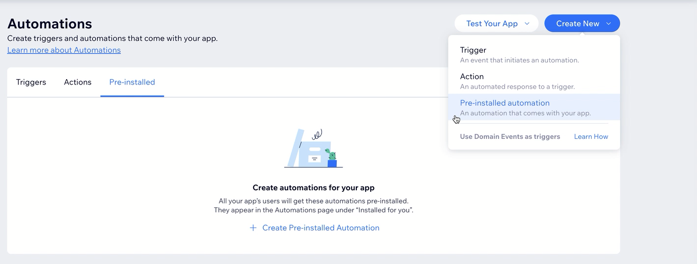
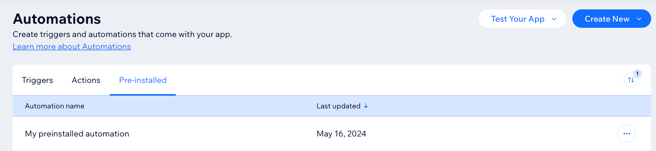
Go to the Automations page in your app's dashboard.
-
Click the Pre-installed tab.
-
Click Create New > Pre-installed automation.
-
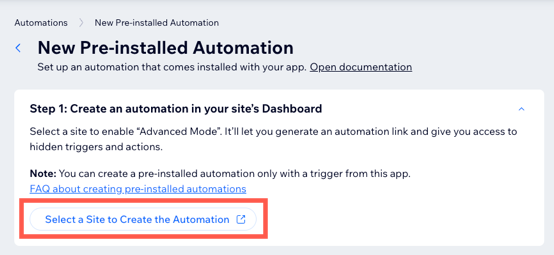
Click Select a Site to Create the Automation and choose a site from the site selector to create the automation on.
-
A new tab opens on the site's Automations page, with Advanced Mode turned on.
Step 2 | Create your automation
-
In the Automations page on your site's dashboard, click + New Automation.
-
Select the app you want to create an automation for.
-
Select one of the available triggers and configure it. You can use any trigger created by Wix or a 3rd party, except for Schedule trigger.
-
Connect your trigger with one or more actions. Currently, you can only use the following actions to create a pre-installed automation:
- Send an email.
- Send a push notification.
- Give loyalty points.
- Issue a receipt.
- Any actions that belong to the app you're creating the automation for.
Important: Once your pre-installed automation is published, you can't change its trigger.
-
Click Activate.
-
You're redirected back to the site's Automations page.
Step 3 | Export your automation to the app dashboard
-
Click the actions menu
 for the automation you created and select Generate link.
 -
Copy the generated automation link.
-
Return to the New Pre-installed Automation tab in your app's dashboard.
If the tab was closed, return to the Automations page in your app and click Create New > Pre-installed automation.
-
Paste the copied automation link in the section labeled Step 2: Paste the automation link.
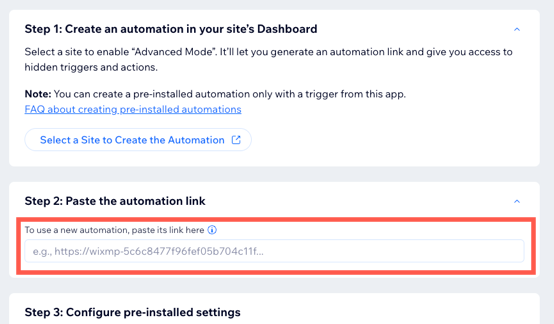
The trigger and action(s) appear in the automation's preview, and the automation name is automatically populated.
-
Go to the next section to configure the pre-installed automation's settings.
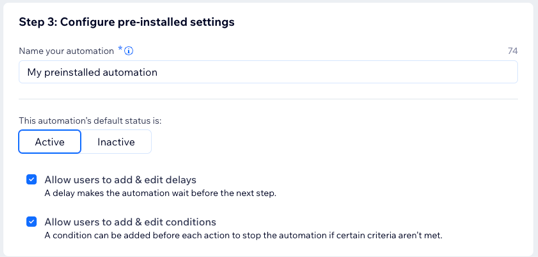
In the field labeled Name your automation, you can rename the automation. Keep in mind:
- Users can’t change the automation name themselves.
- You can translate the name to other languages in the Translations page.
- Tips for naming an automation:
- Start with an imperative verb describing what the automation does (for example, Notify members).
- Describe what triggers it (for example, when a new blog post is published).
- Use sentence case, no period.
-
Choose the automation's default status when installed on a site:
- Active
- Inactive
-
Configure user settings for the automations:
- Allow users to edit timing: Select this to let users edit the automation's timing, which includes the delay of each action, and how frequently the same contact can trigger it.
- Allow users to add & edit conditions: Select this to let users set conditions that control the automation flow.
-
Click Save & Close and you'll be taken back to the Automations page.
Your automation is now listed in your app's dashboard under the Pre-installed tab.
Step 4 | Test your automation
Your automation is now ready to be tested on a site.
- In the top right corner of your app's dashboard, click Test App and select Test on dev site.
- Select an existing development site or click + Create Dev Site to create a new site. Select the editor and the Wix Business Solution you want to use and click Create Dev Site.
- Click Test App. Wix installs your app and opens the site in a new tab. You can set which site page opens in your app settings. If you don't set a page, the site editor opens by default.
Tip: If you're using the same site you used to create the pre-installed automation template, make sure you deactivate the template so that it isn't triggered twice.
Last updated: 19 July 2026