Add Self-Managed Dashboard Plugin Extensions
This article describes how to add a dashboard plugin extension using the app dashboard and how to connect the extension to your plugin.
Note: For a more streamlined approach to developing your dashboard plugin, try out the Wix CLI instead of self-managing.
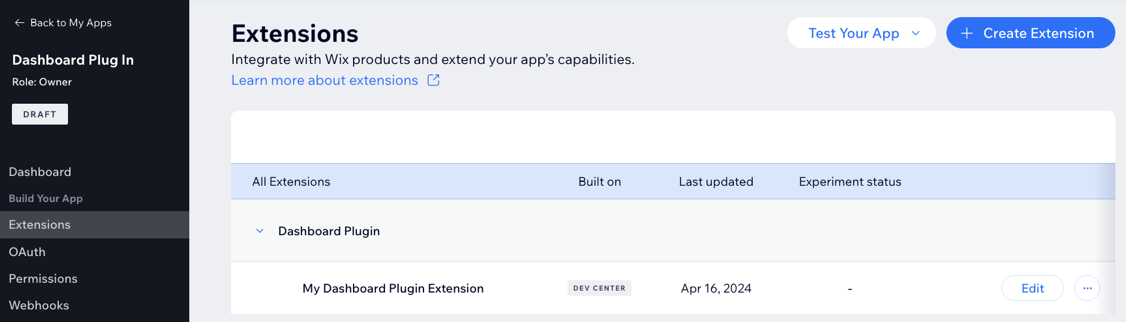
The end result will look like this:
Before you begin
- Instruct your users to install the app built by Wix on their site before installing your app.
- Use an existing app or create a new one in the app dashboard.
Add a dashboard plugin
-
Select an app from the Custom Apps page in your Wix Studio workspace.
-
Go to Extensions and click +Create Extensions.
-
Search for the Dashboard Plugin extension, and click + Create.
-
Fill in the JSON editor with your plugin’s details. This configuration is how you integrate your plugin with Wix’s dashboard pages. Details include the name of the plugin, the size of the plugin, the slot ID of the dashboard page to place your plugin, and the URL that hosts your plugin. Use the following properties, also listed in the ** Documentation** tab on the right of the JSON editor, to fill in the JSON.
Field Description hostingPlatformRequired. Wix platform that hosts the plugin extension. extendsRequired. Slot ID for the slot your extension plugs in to. descriptionDescription of the plugin. titleTitle of the plugin. widthInitial width of the plugin in pixels while loading. Width may be adjusted dynamically based on the content of the plugin and/or limited by the size of the slot container. heightInitial height of the plugin in pixels while loading. Height may be adjusted dynamically based on the content of the plugin and/or limited by the size of the slot container. iframeUrlRequired. The URL of the iframe that renders the plugin. componentNameName for the plugin extension that appears in the app dashboard. Important: The hosting platform must always be "BUSINESS_MANAGER".
Below is an example of how your plugin configuration could appear in the JSON editor.
Copy -
Click Save.
Interacting with the dashboard page
Now that your dashboard plugin is set up, you can write code that allows your plugin to interact with the dashboard page. This can be done with the observeState() function from the dashboard SDK.
The observeState() function allows you to retrieve contextual data from the dashboard page hosting your plugin:
-
Make sure the
@wix/dashboard, package is installed in your app. -
Add the following import statements to your code:
Copy -
Create a client constant using the dashboard module. This allows you to interact with the dashboard page.
Copy -
To retrieve the data from the dashboard page, use the
observeState()function.Copy
See also
Last updated: 17 June 2026